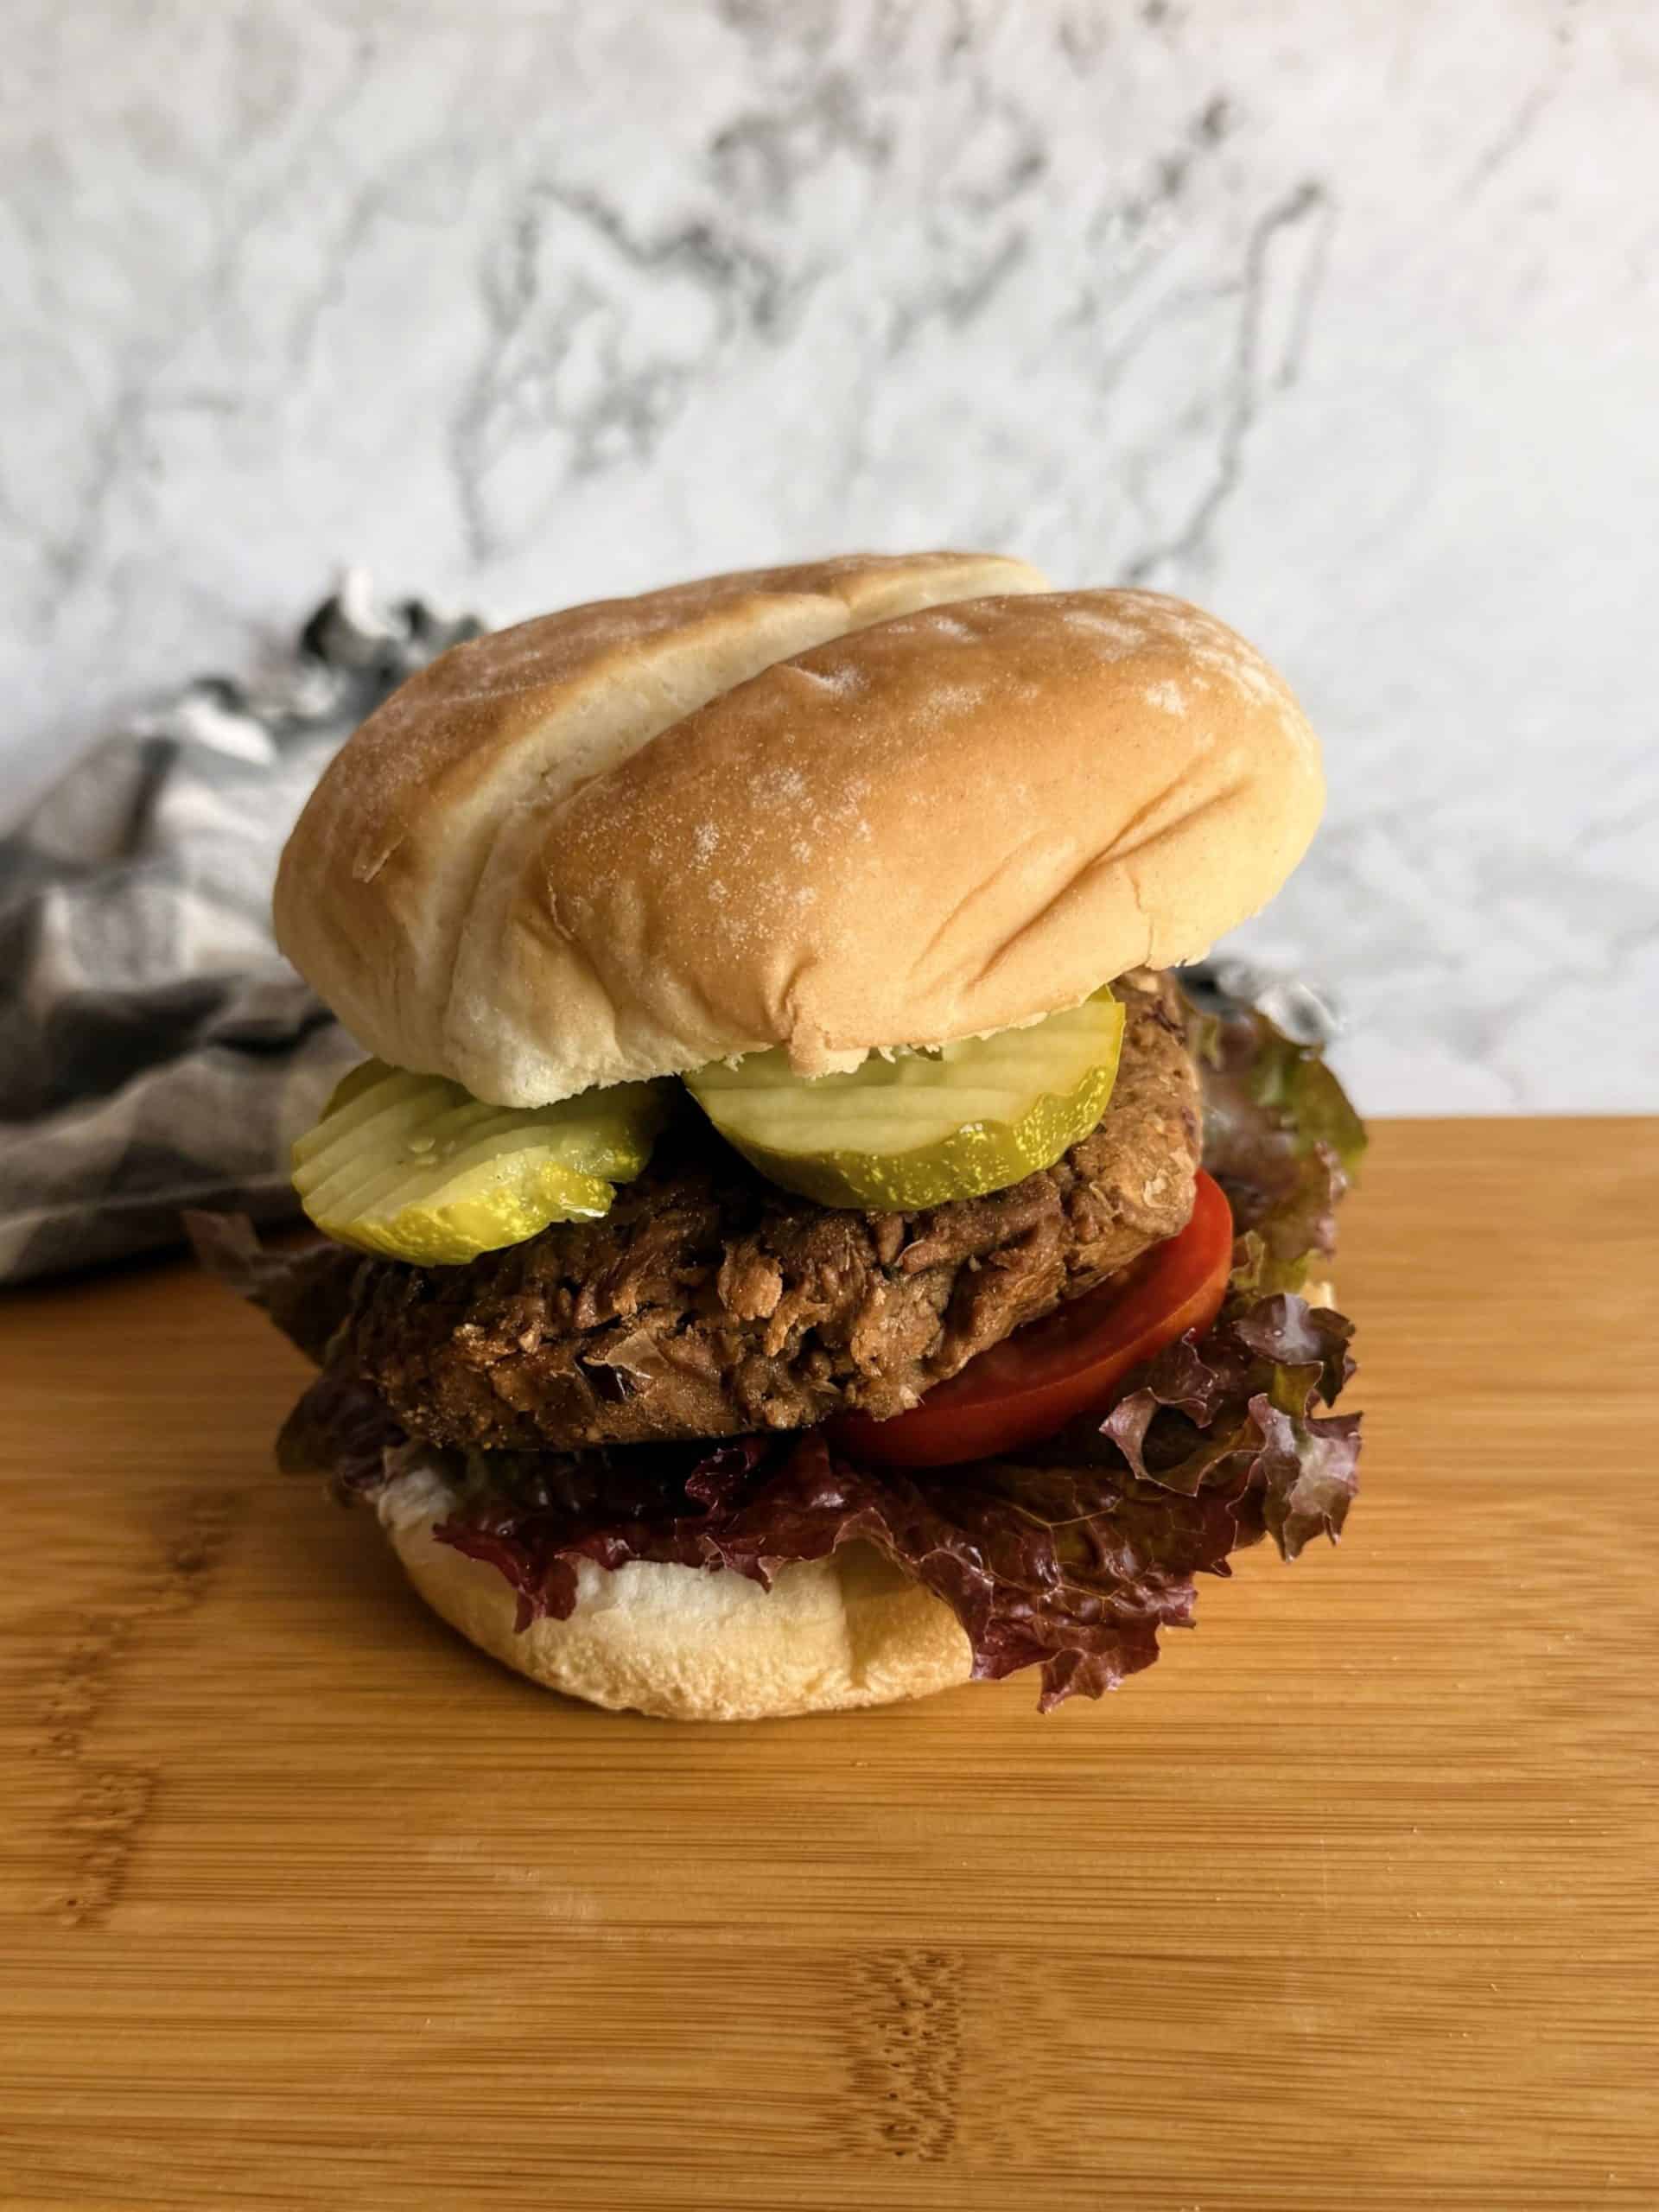
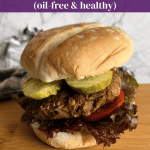
If you’ve been searching for a vegan burger that actually eats like a burger - hearty, chewy, grillable, and packed with protein - this is it. They’re hearty, dense in a satisfying way, and strong enough to hold up on a bun, on a grill, or just sliced into a bowl when dinner needs to happen quickly.

(There may be affiliate links in this post. I may earn a commission for qualified purchases with no added cost to you. Thank you for your support!)
These High-Protein, Low-Fat Vegan Burgers are built for real life: meal prep, busy weeks, freezer stashes, and dinners where you just want something satisfying without overthinking it. They’re made with a powerful combo of soy curls, TVP, black beans, and vital wheat gluten, which gives them that dense, satisfying “bite” you usually only get from store-bought meat-style patties.
The best part? They’re incredibly high in protein while still staying low in fat and budget-friendly.
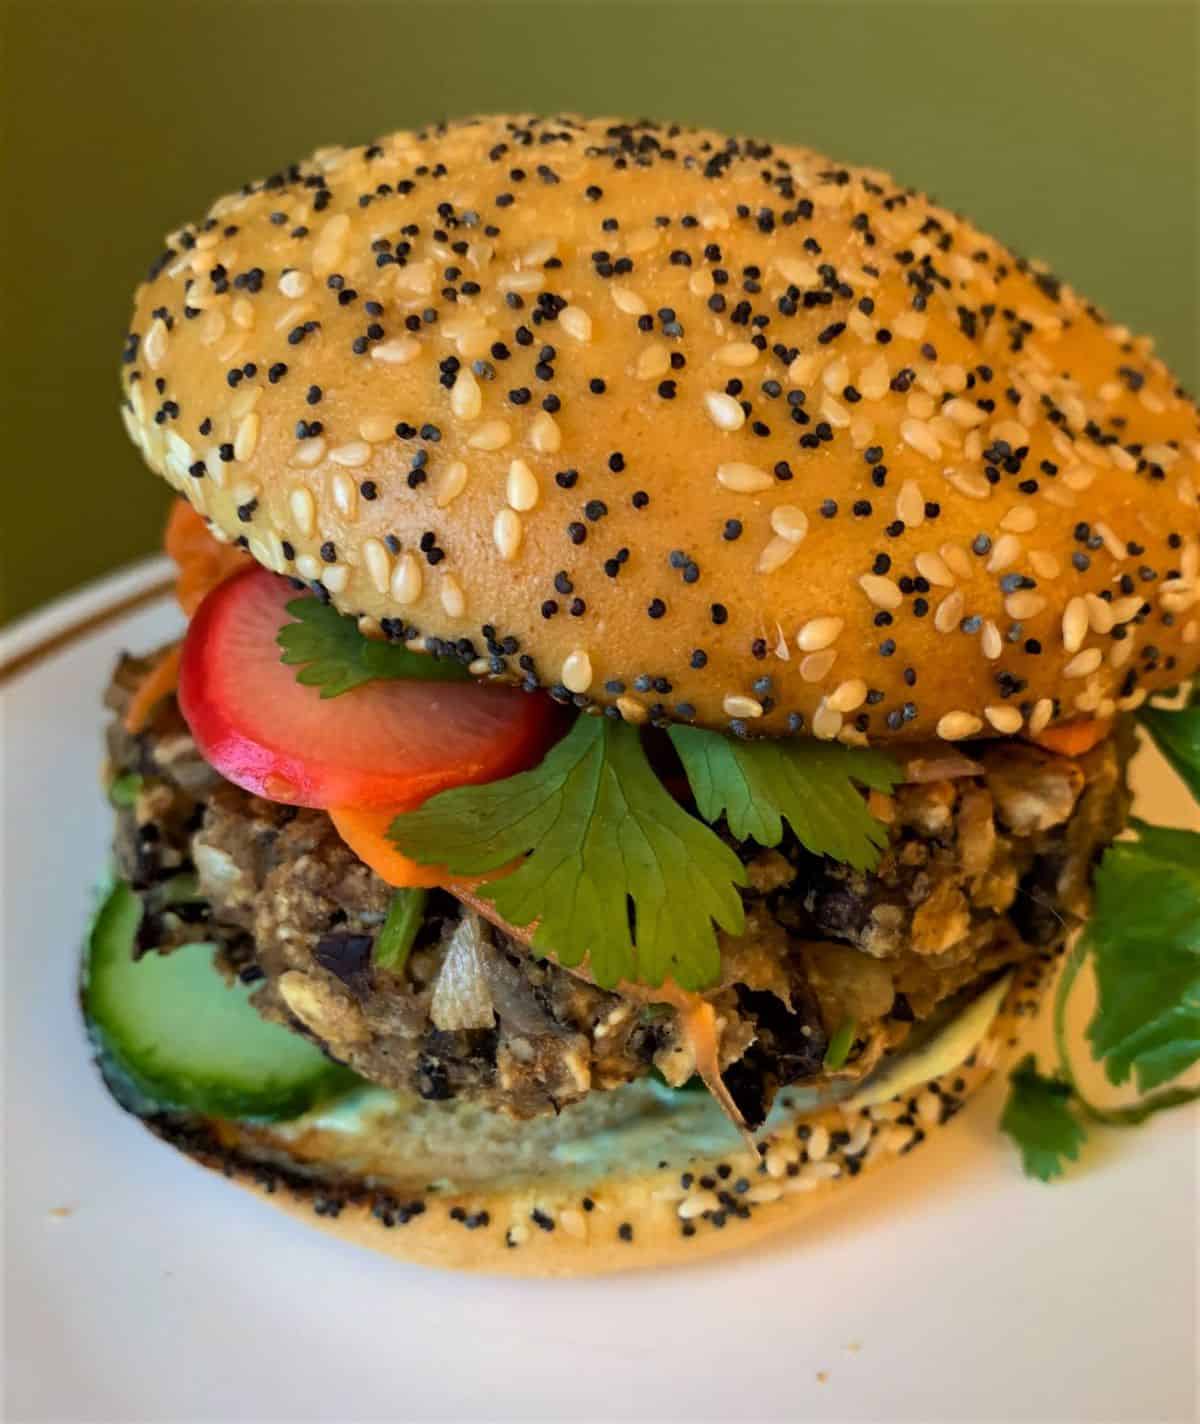
If you love burgers but want to try something new... highly recommend trying out these Bahn-Mi Inspired Bean Burgers!
Jump to:
These are the kind of vegan burgers that don’t really try to imitate anything too closely but still end up surprising people.
They were built for real-life eating. The kind where you make a batch once and quietly rely on them for the rest of the week when you don’t feel like thinking too hard about food, but still want something that feels nourishing and filling.
There’s a specific texture that only happens when you combine soy curls, TVP, beans, and vital wheat gluten in the right way. The beans soften everything and add moisture, the soy curls and TVP give that “meaty” bite, and the gluten pulls it all together into something that actually holds its shape. It’s not delicate or fragile—it’s structured in a way that makes it dependable.
Why You’ll Love These Vegan Burgers
- 30g+ protein per burger
- Low fat, high fiber, very filling
- Freezer-friendly (up to 6 months)
- Great for grilling, pan-searing, or meal prep bowls
- Made with simple pantry staples
- No oil needed
These are the kind of burgers you can batch once and rely on all week.
Why do I need to steam these?
If there’s one step that people are tempted to rush, it’s steaming. But this is really the moment where everything sets. Right out of the steamer, the burgers will feel a little soft and fragile, almost like they’re not quite finished. That’s normal.
After they rest and cool, they firm up noticeably and become much easier to handle. This is when they turn from a soft mixture into something you can actually cook, freeze, or stack.
I prefer to use my Instant Pot for easy steaming with no monitoring needed (though you can definitely do this on the stove as well!)
Grilling up Vegan Burgers
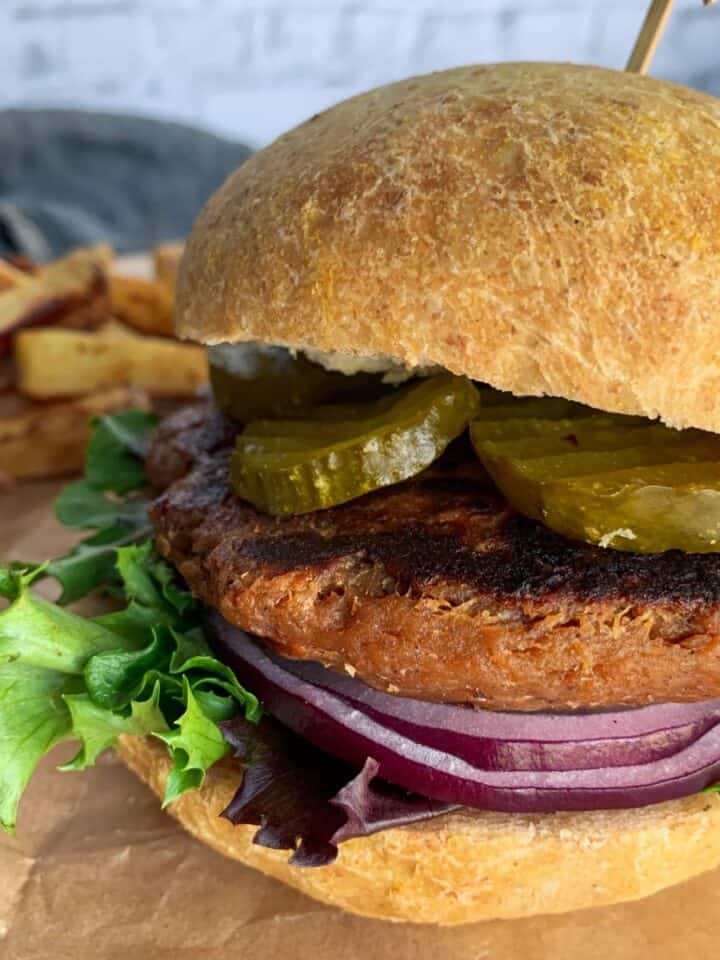
When you’re ready to eat them, the burgers are already fully cooked from steaming. What you’re doing in the pan or on the grill is really just finishing them— heating them up and bringing back that browned, slightly crisp exterior that makes them feel more like a classic burger.
A few minutes on each side is enough to get that golden edge and warm the center through. It’s a simple step, but it makes a big difference in flavor and texture.
Storing options
After steaming, they hold up well in the fridge for up to 5 days. They stay firm and ready to use, which makes them perfect for quick meals when you don’t want to cook from scratch.
They also freeze really well, which is where they become especially useful. I like to make a double or even triple batch so that my freezer is stocked for the summer.
Once fully cooled, they can be frozen individually so they don’t stick together. That makes it easy to grab just one or two at a time instead of thawing an entire batch.
From frozen, they go straight into a pan without needing to thaw. It takes a little longer, but they come back well. The outside slowly crisps again while the inside heats through, and they hold their structure the whole time. There’s something very satisfying about pulling one straight from the freezer and still getting a proper burger experience.
Serving Ideas
These vegan burgers are super versatile. Try them:
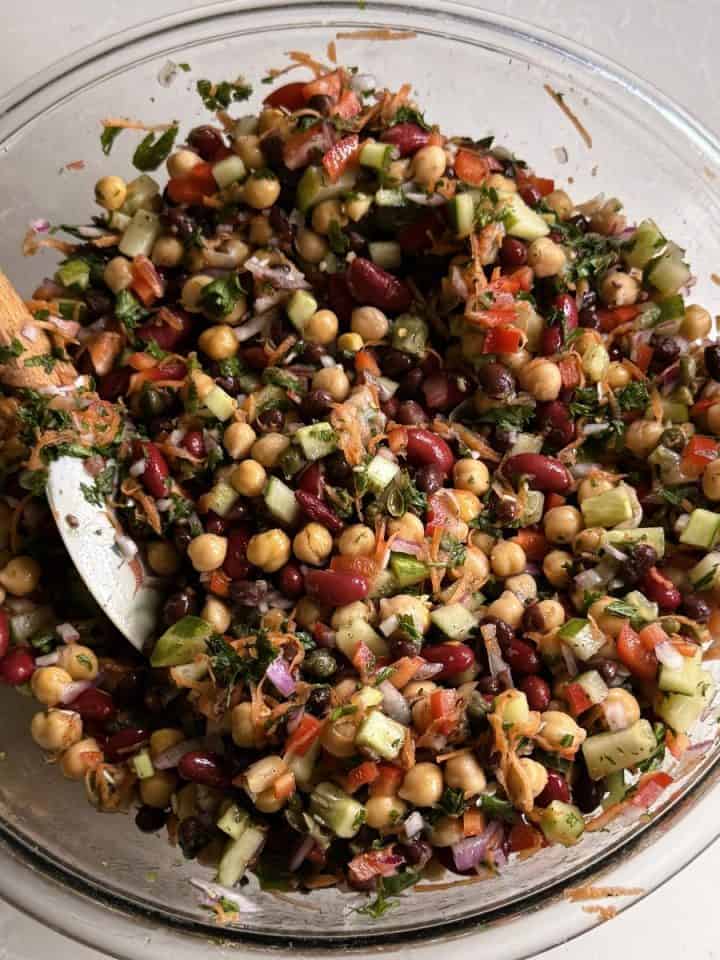
- Sliced on top of salads for extra protein
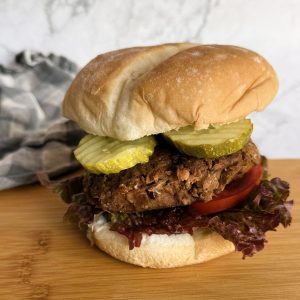
- On a toasted bun with lettuce, tomato, and pickles
- In a burger bowl with roasted potatoes and greens
- Crumbled into wraps or grain bowls
Tips for the Best Texture
- Let them cool before handling. They continue setting as they rest.(affiliate link) for cleaning the grill.
- Don’t skip squeezing the soy curls and TVP. This is key for a firm, not mushy burger.
- Steam = structure. This step is what makes them sliceable, grillable, and freezer-friendly.
- Pulse, don’t puree. Texture is everything here.
Related
Looking for other recipes like this? Try these next:


Recipe
Vegan Burgers (High-Protein & Low-Fat)
Equipment
Ingredients
- 84 g soy curls*
- 84 g textured vegetable protein*
- 1 can cooked & drained black beans (15oz)
- ¾ cup water or beet juice for color
- 3 tablespoon coconut aminos
- 2 teaspoon dark mushroom soy sauce optional
- 3 tablespoon nutritional yeast
- 1 tablespoon onion powder
- 1 teaspoon smoked paprika
- ½ teaspoon liquid smoke
- 1¾ cups vital wheat gluten
Instructions
Rehydrate the soy curls and TVP
- Place the soy curls and textured vegetable protein in a large bowl. Pour hot water over them, using enough to fully cover. Let soak for 10–15 minutes, until softened. Drain well, then squeeze out excess liquid. The mixture should be moist but not dripping.
Blend the bean mixture
- Add the beans, water, coconut aminos, dark mushroom soy sauce (if using), nutritional yeast, onion powder, smoked paprika, and liquid smoke to a food processor. Blend until mostly smooth.
Add the soy curls and TVP
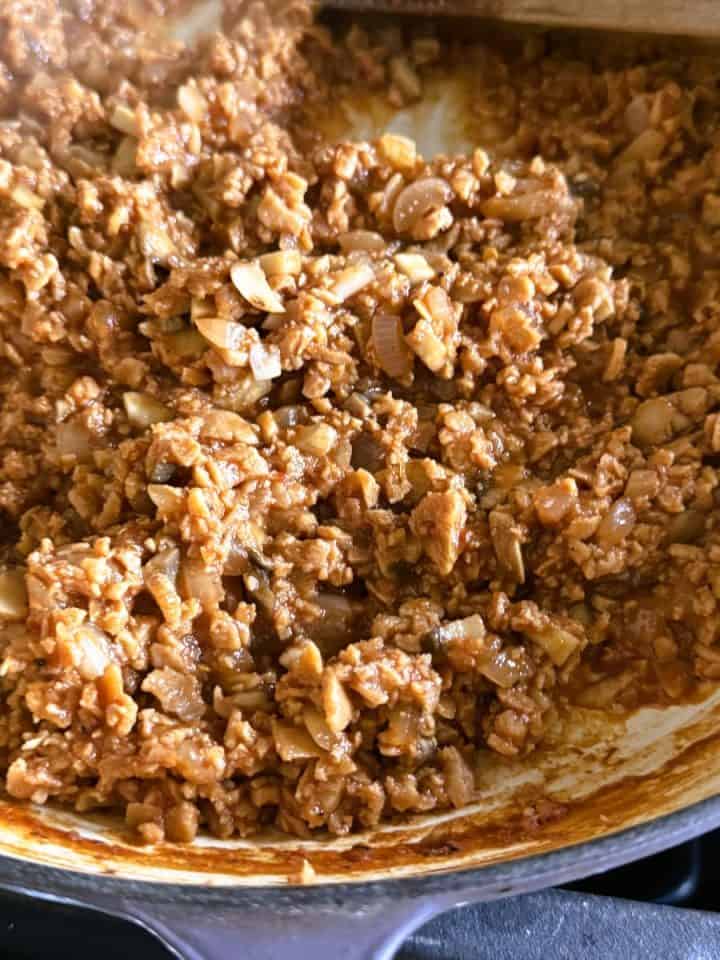
- Add the rehydrated soy curls and TVP to the food processor. Pulse several times until the soy curls are broken into small pieces but still have some texture. Avoid over-processing, you want a ground "meaty" texture rather than a paste.
Mix in the vital wheat gluten
- Add the vital wheat gluten and process on low speed for 1 minute to combine everything well.
Shape the burgers & Steam
- Divide into 8 equal portions (~160g per burger) and shape into patties about ¾ inch thick. Wrap each burger in parchment and foil.
- Place the patties in a steamer basket over a pot with an inch or two of water in the base (or an instant pot with the trivet and water in the bottom) in a single layer. Steam for 45 minutes and allow natural release if using the instant pot.
Let them cool
- Allow the burgers to cool for 15–20 minutes. This helps them firm up and makes them easier to handle. When able to safely handle, unwrap the burgers.
Freezing and Serving
- The burgers can be frozen after they are cooled. They will keep for up to 6 months.
- When ready to eat- Heat a nonstick or well-seasoned cast-iron skillet or grill over medium heat. Cook the burgers for 3–5 minutes per side, until browned, warmed through and slightly crisp on the outside.
Notes
Nutrition
*Nutrition information is an estimate provided as a courtesy and may vary depending on the specific ingredients, brands, and portion sizes used.

Leave a Reply