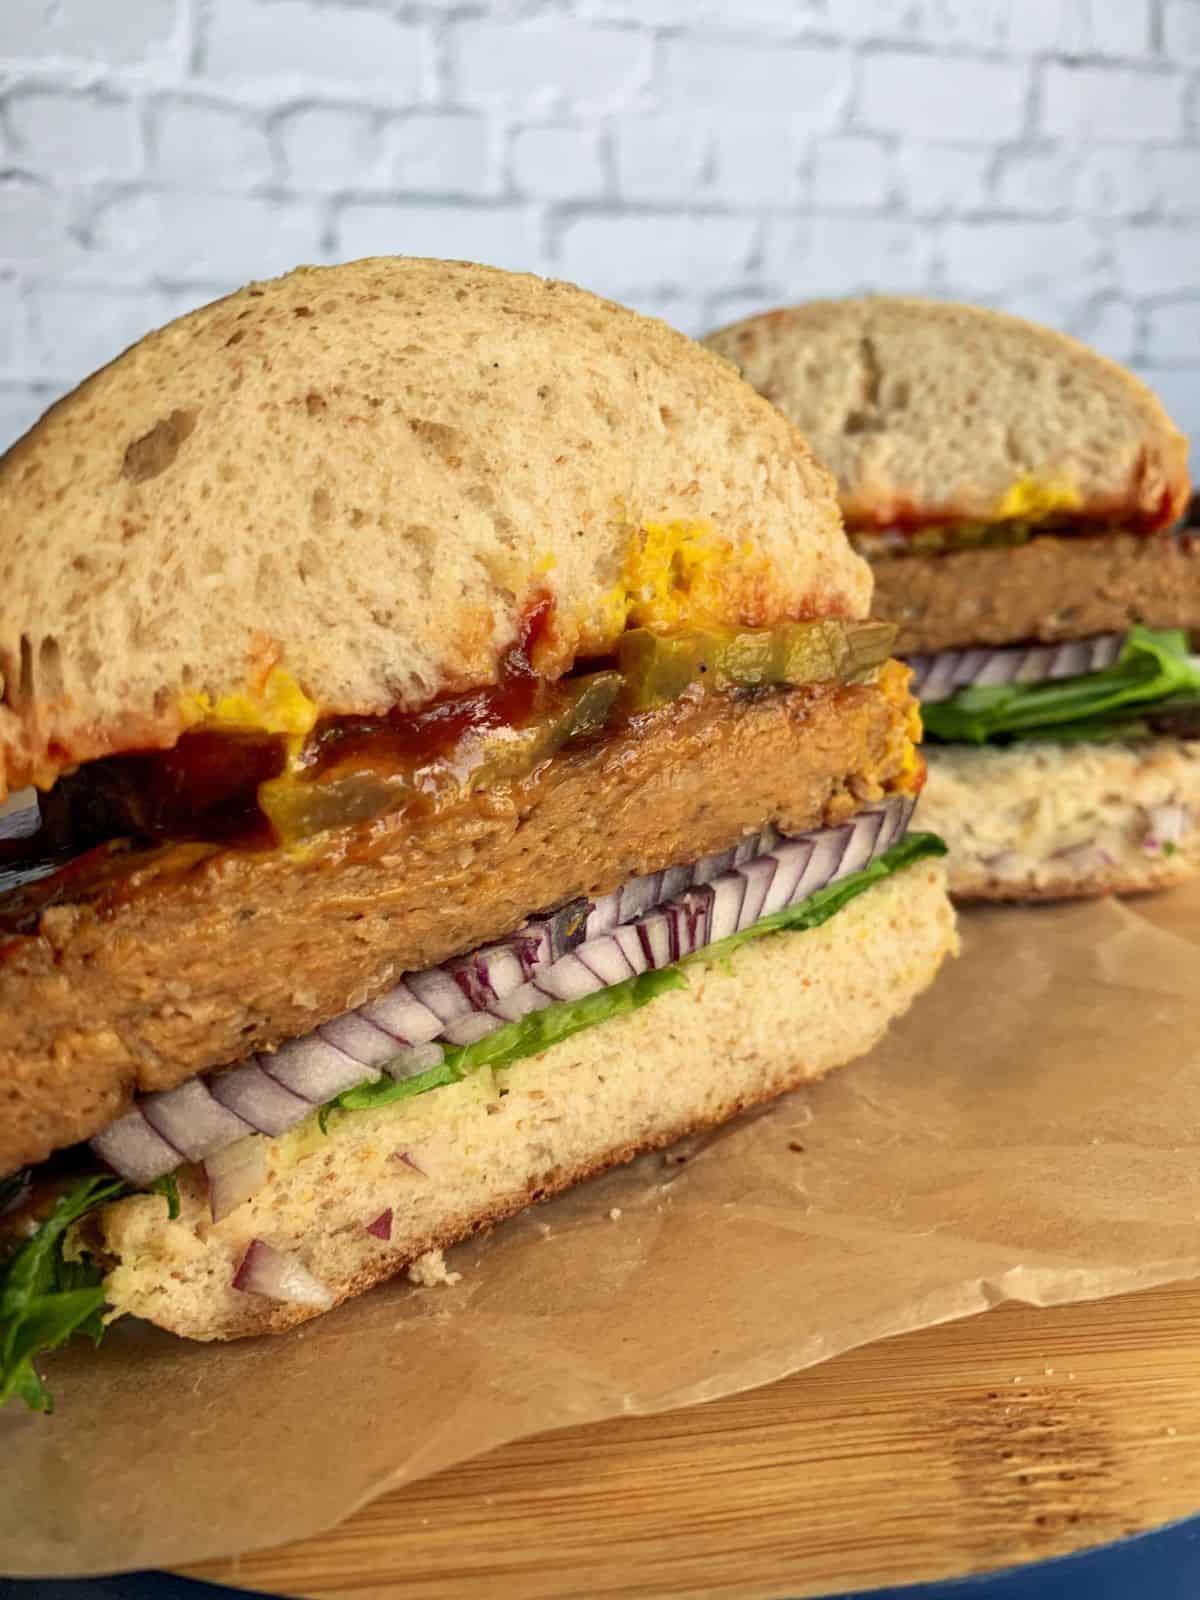
These hearty Vegan Seitan Burgers are ready to hit your grill! They're easy to make and require no kneading by hand. Skip the beef burger and sink your teeth into one of these plant based burgers this summer!

Looking for a meaty, vegan burger that wont smoosh when you bite it and will hold up to a grill?? Look no further than these easy vegan seitan burgers!
These tasty patties are packed with protein and flavor, and in this step-by-step guide, you’ll learn how to make them from scratch!
From mixing the ingredients to seasoning and cooking, I’ll take you through each step to ensure your seitan burgers are a perfect fit for your taste buds. So, get ready to learn and experiment with different flavors as you create your new favorite meal.
Don' forget the importance of the side dishes! At my summer barbeques, I love to pair these burgers with some Caesar Potato Salad, a classic Macaroni salad, Lemon Dill Orzo Salad or Creamy Artichoke Pasta Salad!
Jump to:
Why you'll love Seitan Burgers
- These burgers are jam-packed with protein, making them the perfect meal choice for vegan and meat-eaters alike.
- They're a great meaty alternative to a traditional beef burger.
- Seitan burgers are versatile and can be cooked in a multitude of ways, like pan searing, grilling or even air frying!
- You can customize the flavors to your liking, making it an enjoyable meal for everyone at the dinner table.
- They are super easy to make, all you need is a food processor and a steamer basket!
- They are great to make ahead! Make a batch ahead of time and refrigerate or freeze for an easy weeknight meal!

Ingredient Breakdown
These vegan burgers use a handful of ingredients that can be pretty common in a vegan kitchen, so let's break it down!
- Cannellini beans- a can of beans adds to the texture of these burgers while also giving them a boost of protein and fiber!
- Sweet onion & Portabella mushrooms- a little bit of hidden veggies that add to the nutrition and texture as well as the savory flavor!
- Vegan barbeque sauce- I like to use barbeque sauce in these burgers for a flavorful and smoky twist.
- Tamari (or soy sauce) & Vegan chicken bouillon- Here's the salty kick that these burgers need to enhance the flavor of the spices and gives them a burst of umami you'll love from the first bite!
- Liquid smoke, garlic powder, smoked paprika & black pepper- everything you need to add a smoky flavor to your seitan burger.
- Vital wheat gluten- Vital wheat gluten is what makes seitan, well... seitan! This is the key ingredient to having a burger with a meaty chew that will hold up just like a traditional burger on the grill.

How to Make Seitan Burgers: Step-by-Step Guide
Homemade Seitan can feel super overwhelming, especially when it's your first time! To make this burger recipe easy to understand and follow let's break it down into 3 steps...
Step One: Making the dough
- Gather your ingredients and add everything except the vital wheat gluten to a food processor. Process it on high until everything is combined, some chunky bits are fine.

- Add in the Vital Wheat Gluten and process on low speed for 6-8 minutes. We're letting the food processor do the kneading for us. You may notice that the dough becomes slightly elastic, this is a good thing! This is what gives the seitan burgers that meaty chew!

- Let your burgers rest for at least 5 minutes to let the gluten relax and make it easier to work with. (Tip: While you're waiting you could use this time to prep your steamer and bring some water to a simmer.)
Step Two: Form and Steam
- Once the dough has rested, divide it into 6 even balls using your hands and flatten them to create the burger patties. Remember that the patties will puff up a bit as they cook, so don't make them too thick. A good rule of thumb is to make them about ½ inch thick.
- Most seitan recipes require steaming before grilling because it adds to the meaty texture, otherwise you'll get a spongy one! So let's get steaming! Prep your steamer basket (or whatever your tool of choice for steaming is), and steam these burgers over water in a single layer for 20 minutes.

Step Three: Chill and Grill
- For the best texture, you have to let your burgers chill! After they come to room temperature, toss them in a container or bag and let them sit in the fridge for at least 6 hours or up to 36 hours. (You could also freeze them at this point.)
How to cook Seitan Burgers:
When it comes to cooking seitan burgers, there are a few methods you can use. Grilling, pan-frying or air frying are all great options, but it ultimately depends on your personal preference. For best results, make sure your grill, oven, or skillet is preheated before cooking.
- Grill - If you're grilling your burgers, brush them with a little bit of oil and place them on a preheated grill over medium-high heat. Cook for about 5-6 minutes on each side, or until nicely charred and heated through.
- Pan Frying- If you prefer to pan-fry your burgers, heat a small amount of oil in a skillet over medium heat. (You can also do this oil free on a non-stick pan.) Place your burgers in the skillet and cook for about 3-4 minutes on each side, or until nicely browned and heated through.
- Air Fry - I've also air fried these burgers with great results! Set the air fryer to 380°F and cook for 5 mins per side or until heated through.
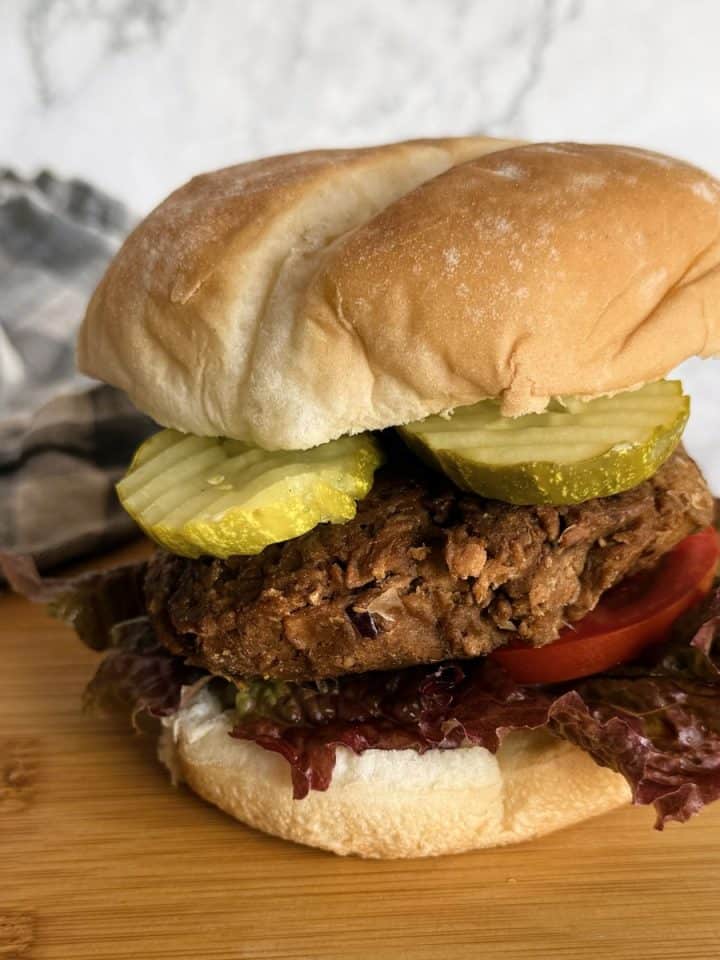
Once your burgers are cooked to your liking, it's time to dress them up with your favorite toppings.

The Best Burger Toppings
Once your seitan burgers are cooked to perfection, it's time to add some personality and customize them with your favorite toppings.
The possibilities are endless, but some classic options include lettuce, tomato, onion, pickles, and (vegan) cheese.
For a healthier option, consider adding some sliced avocado, pickled onions or grilled vegetables such as onions, mushrooms, zucchini or bell peppers.
You can also experiment with different sauces and spreads to elevate your burger's flavor. Some popular choices include ketchup, mustard, mayo (or homemade spicy mayo), BBQ sauce, or go crazy with some hummus or white bean avocado dip.
If you're feeling adventurous, you can take your seitan burger to the next level by adding some unconventional toppings such as pineapple, jalapeños, or coleslaw.
The key is to find a balance between the flavors and textures, and to make sure that each bite is a delicious and satisfying experience.
So go ahead and get creative with your toppings - this is your chance to make your seitan burger truly unique and delicious. And as always, don't forget to enjoy it with your favorite side dish and a cold drink!
Storage
Burgers that have gone through the whole cooking process can be stored in a sealed container in the fridge for up to 3 days. Reheat prior to enjoying for the best texture.
Burgers that have been steamed, but not grilled can be kept in a container in the fridge for up to 36 hours before grilling.
To Freeze: After steaming, the burgers can be frozen in a container or freezer bag for up to 4 months. Let them thaw for about 30 minutes, then proceed to the cooking step. They may require a few minutes longer to heat all the way through.
Top tip
I know it's hard, but don't rush the chilling process! Letting the burgers chill will let them firm up and add to the best texture for seitan burgers!
Side Dishes for Vegan Burgers
These are my favorite dishes to serve with these burgers:


Did you make this recipe? Please leave a comment and ⭐⭐⭐⭐⭐ rating below! Take a picture and tag me on Instagram @samcookskindness !
Recipe

Vegan Seitan Burgers
Ingredients
- 1 can cannellini beans, drained and rinsed 439g
- ¼ large sweet onion about ¾ cup roughly chopped
- heaping ½ cup portabella or baby bella mushrooms roughly chopped
- ¼ cup your favorite vegan barbeque sauce
- 1 tablespoons tamari or soy sauce
- 2 tablespoons powdered vegan chicken bouillon* see notes
- ½ teaspoon liquid smoke
- 1 teaspoon garlic powder
- ½ teaspoon smoked paprika
- ¼ teaspoon black pepper
- 1⅓ cups vital wheat gluten, 190g
Instructions
- In a food processor combine all ingredients EXCEPT the vital wheat gluten. Process until combined well and most of the chunks are chopped pretty small. Taste and adjust seasonings, it should be on the saltier side at this point.
- Add vital wheat gluten to the processor and process on low speed for 6-8 minutes, let rest for 5 minutes before shaping.
- Once the dough has rested, divide it into 6 even balls using your hands and flatten them to create the burger patties. Remember that the patties will puff up a bit as they cook, so don't make them too thick. A good rule of thumb is to make them about ½ inch thick.
- Prep a large two layered bamboo steamer** or a pot and steamer basket by bringing a few inches of water to a simmer. Place the burgers in a single layer in the bamboo steamer or steamer basket and steam for 20 minutes. (Depending on the size of your equipment, you may need to do this in batches.)
- Remove from heat and uncover. Let the burgers cool to room temperature and then refrigerate for at least 6 hours before grilling. (If you're planning on freezing them, this is where you should do it! They freeze well in a freezer bag for up to 6 months.)
To cook:
- Grill - If you're grilling your burgers, brush them with a little bit of oil and place them on a preheated grill over medium-high heat. Cook for about 5-6 minutes on each side, or until nicely charred and heated through.Pan Frying- If you prefer to pan-fry your burgers, heat a small amount of oil in a skillet over medium heat. (You can also do this oil free on a non-stick pan.) Place your burgers in the skillet and cook for about 3-4 minutes on each side, or until nicely browned and heated through.Air Fry - I've also air fried these burgers with great results! Set the air fryer to 380°F and cook for 5 mins per side or until heated through.
- Place the cooked burgers on a bun and pile on your favorite toppings!
Notes
(There may be affiliate links in this post. I may earn a commission for qualified purchases with no added cost to you. Thank you for your support!)


Pam says
These were great! They held up to all my toppings and rolls. I made a double batch so I could freeze some for later and I’m glad I did!