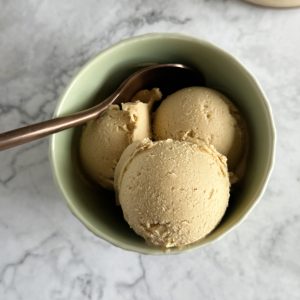
Creamy, dreamy, and totally crave-worthy—this Ninja Creami Peanut Butter Ice Cream is pure indulgence in every bite. But here’s the twist: it’s packed with plant-based protein and made from real, simple ingredients you probably already have in your kitchen.
Peanut butter lovers, this one’s for you.
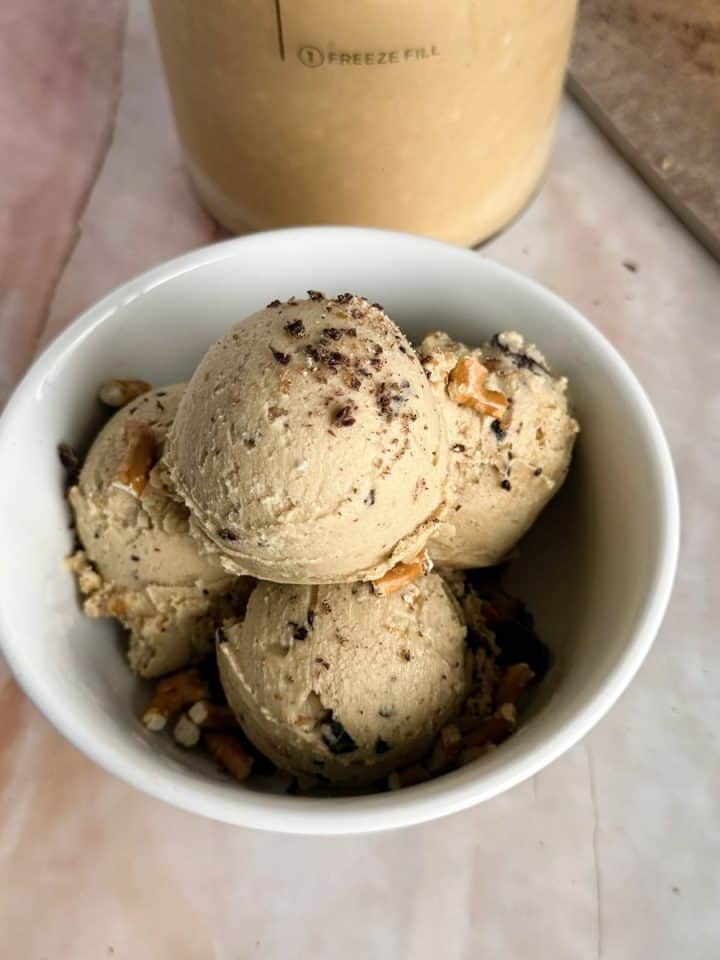
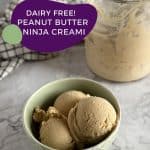
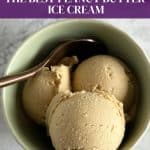
This Ninja Creami Peanut Butter Ice Cream is everything: rich, creamy, salty-sweet, and totally scoop-worthy. The secret? Silken tofu! Don’t run—it gives this recipe an ultra-smooth texture and a sneaky boost of plant-based protein, with zero tofu taste.
It’s dairy-free, naturally sweetened with maple syrup, and couldn’t be easier to make. Just blend, freeze, spin, and get ready to dive into peanut butter perfection.
Jump to:
Why You’ll Love This Vegan Peanut Butter Ice Cream
- Ultra creamy thanks to silken tofu
- Naturally sweetened with maple syrup
- Just 5 simple ingredients
- Loaded with plant-based protein
- 100% dairy-free and vegan
- No bananas, no weird gums or stabilizers—just pure peanut butter bliss
Whether you’re new to the Ninja Creami or a seasoned pint-prepper, this recipe is a must-try for any peanut butter fan.that’s packed with flavor, fiber, and healthy fats. Whether you enjoy it for breakfast, post-workout, or dessert, you’ll be singing its praises after the first bite.

Ingredients You’ll Need
Here’s all you need to make this crave-worthy Ninja Creami creation:
- 308g extra-firm silken tofu – Makes it creamy, rich, and full of plant protein without any tofu taste
- ½ cup natural peanut butter – For that classic salty-sweet peanut flavor
- ½ cup maple syrup – A naturally sweet touch that pairs perfectly with peanut butter
- 1 teaspoon vanilla extract – Adds warm, cozy depth
- 3 tablespoon almond milk – Just enough to smooth out the blend before freezing
✨ Find the printable recipe card at the bottom of this post..
How to Make Vegan Peanut Butter Ice Cream in the Ninja Creami
You’ll need: A blender + your Ninja Creami
Step-by-Step Instructions
Blend the base.
Add tofu, peanut butter, maple syrup, vanilla, and almond milk to a blender. Blend until completely smooth and creamy.
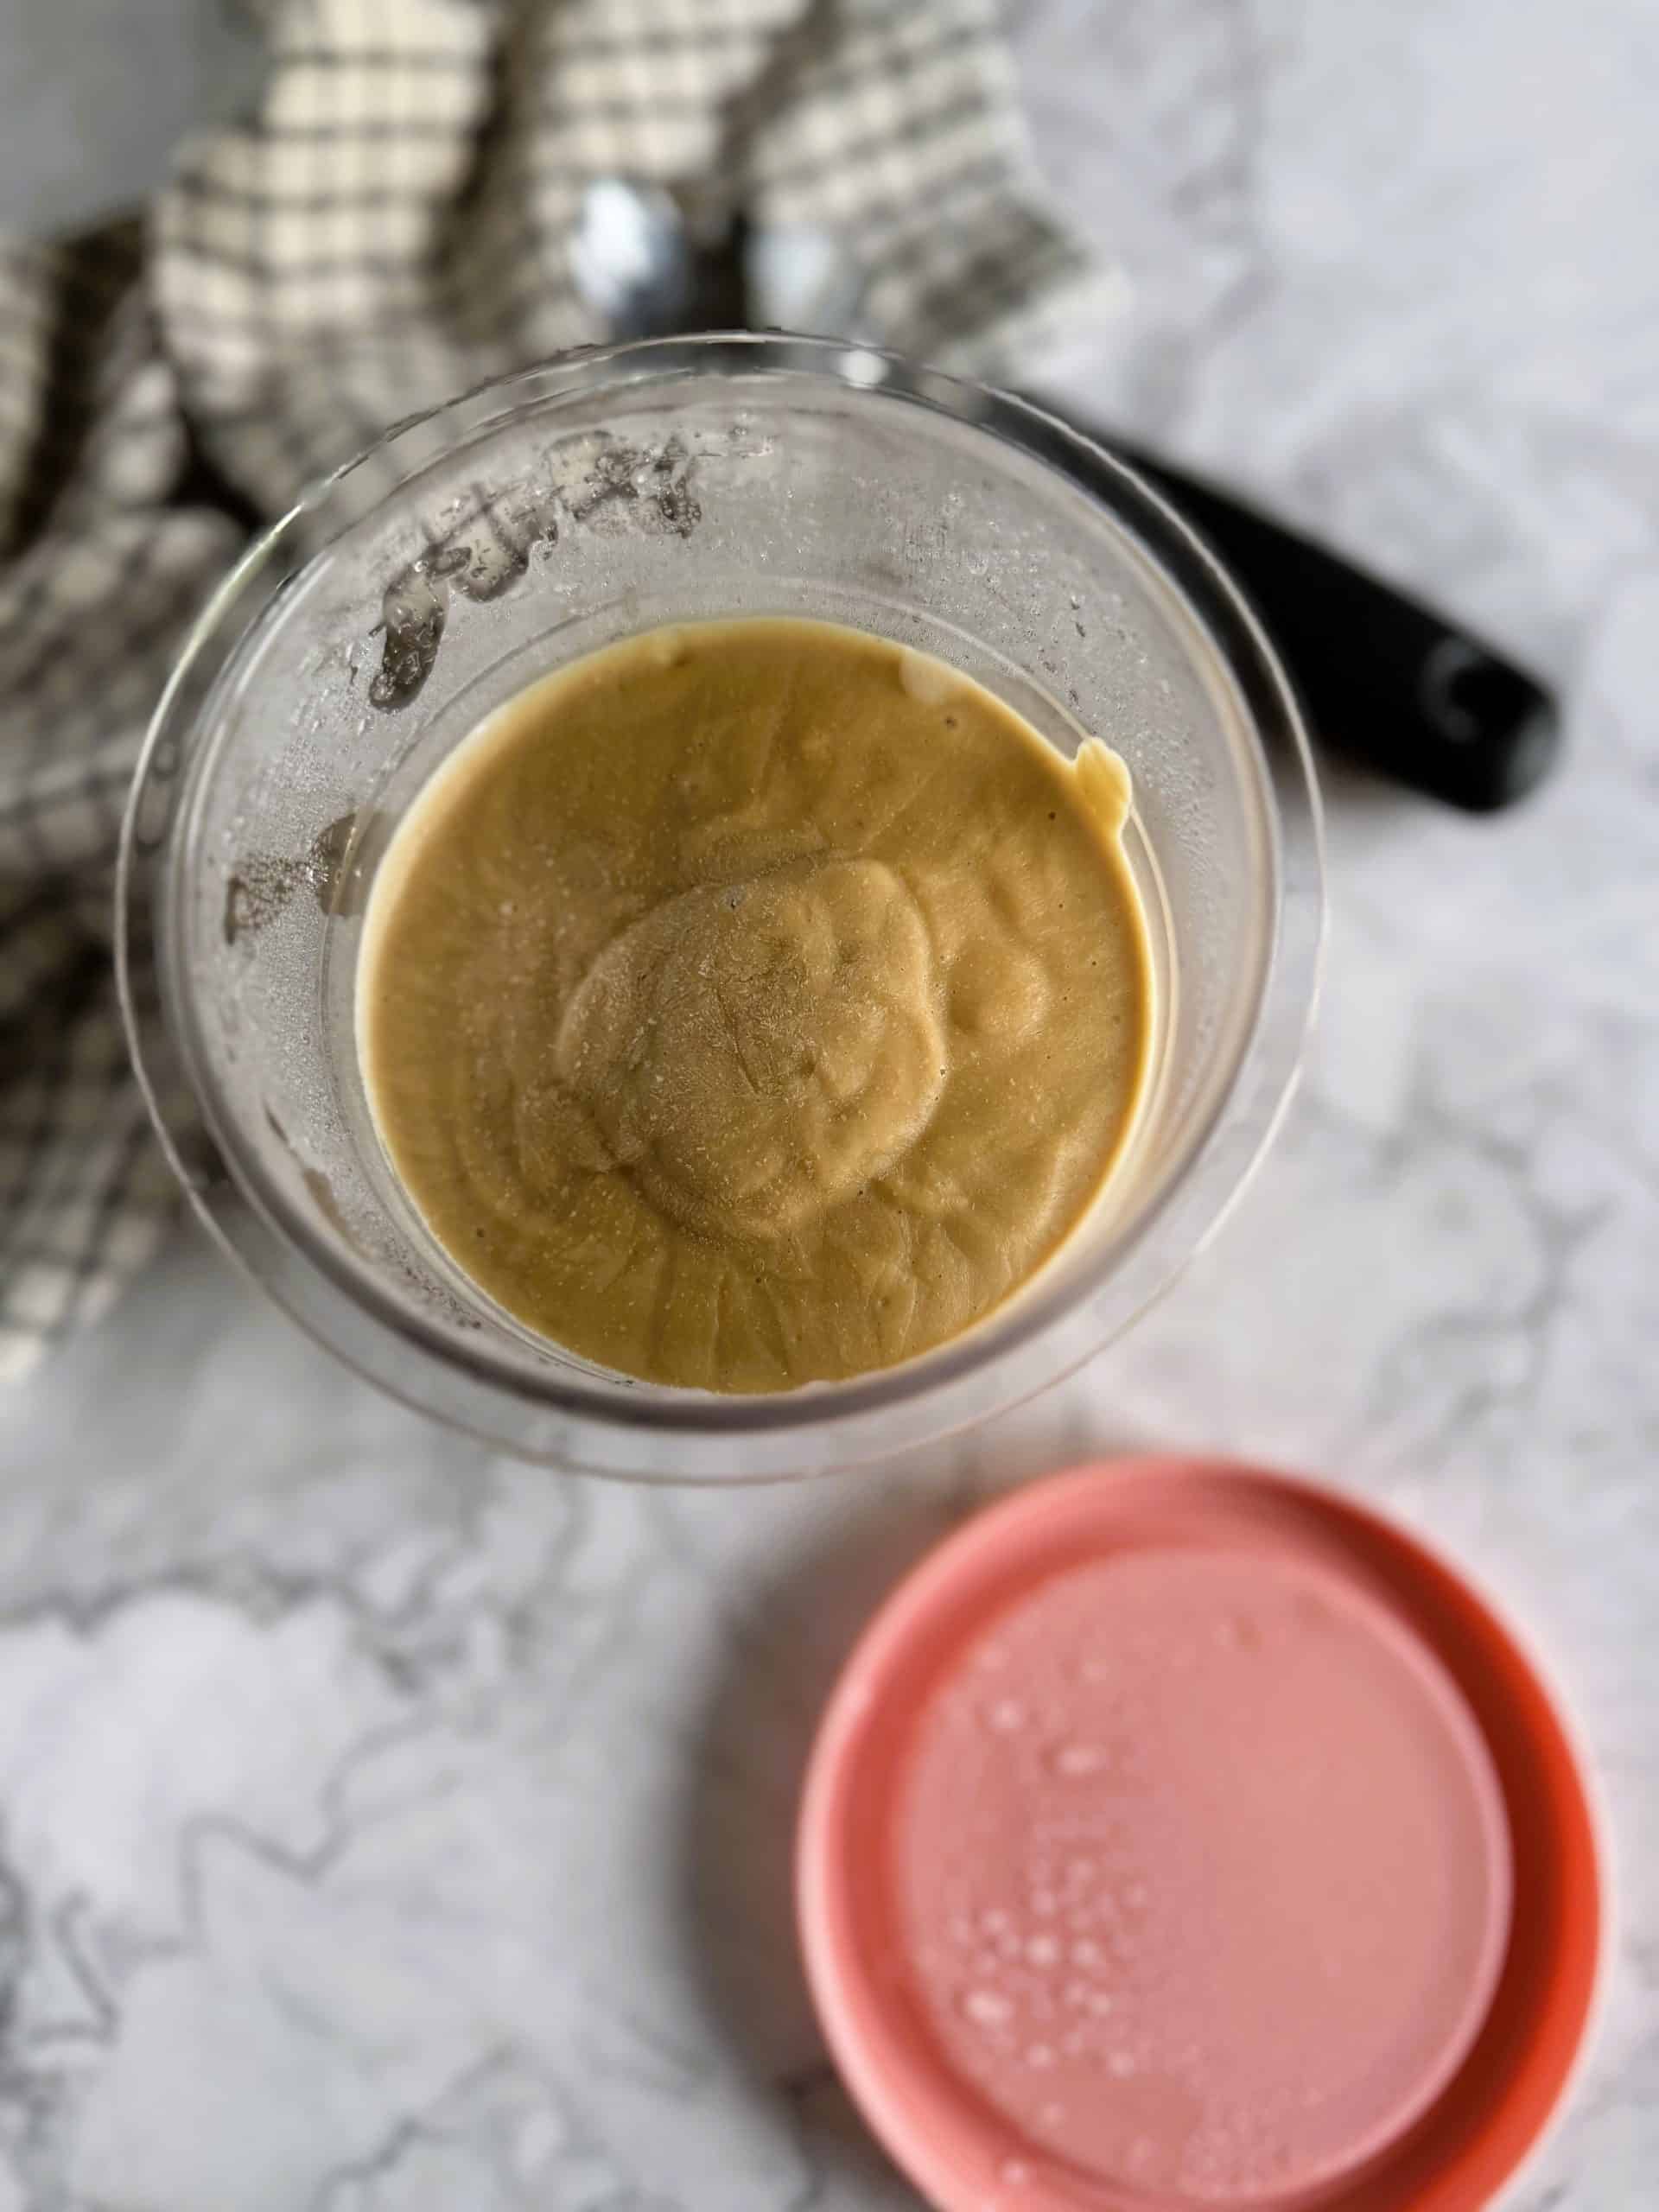
Freeze.
Pour the mixture into your Ninja Creami pint container. Freeze for at least 24 hours.
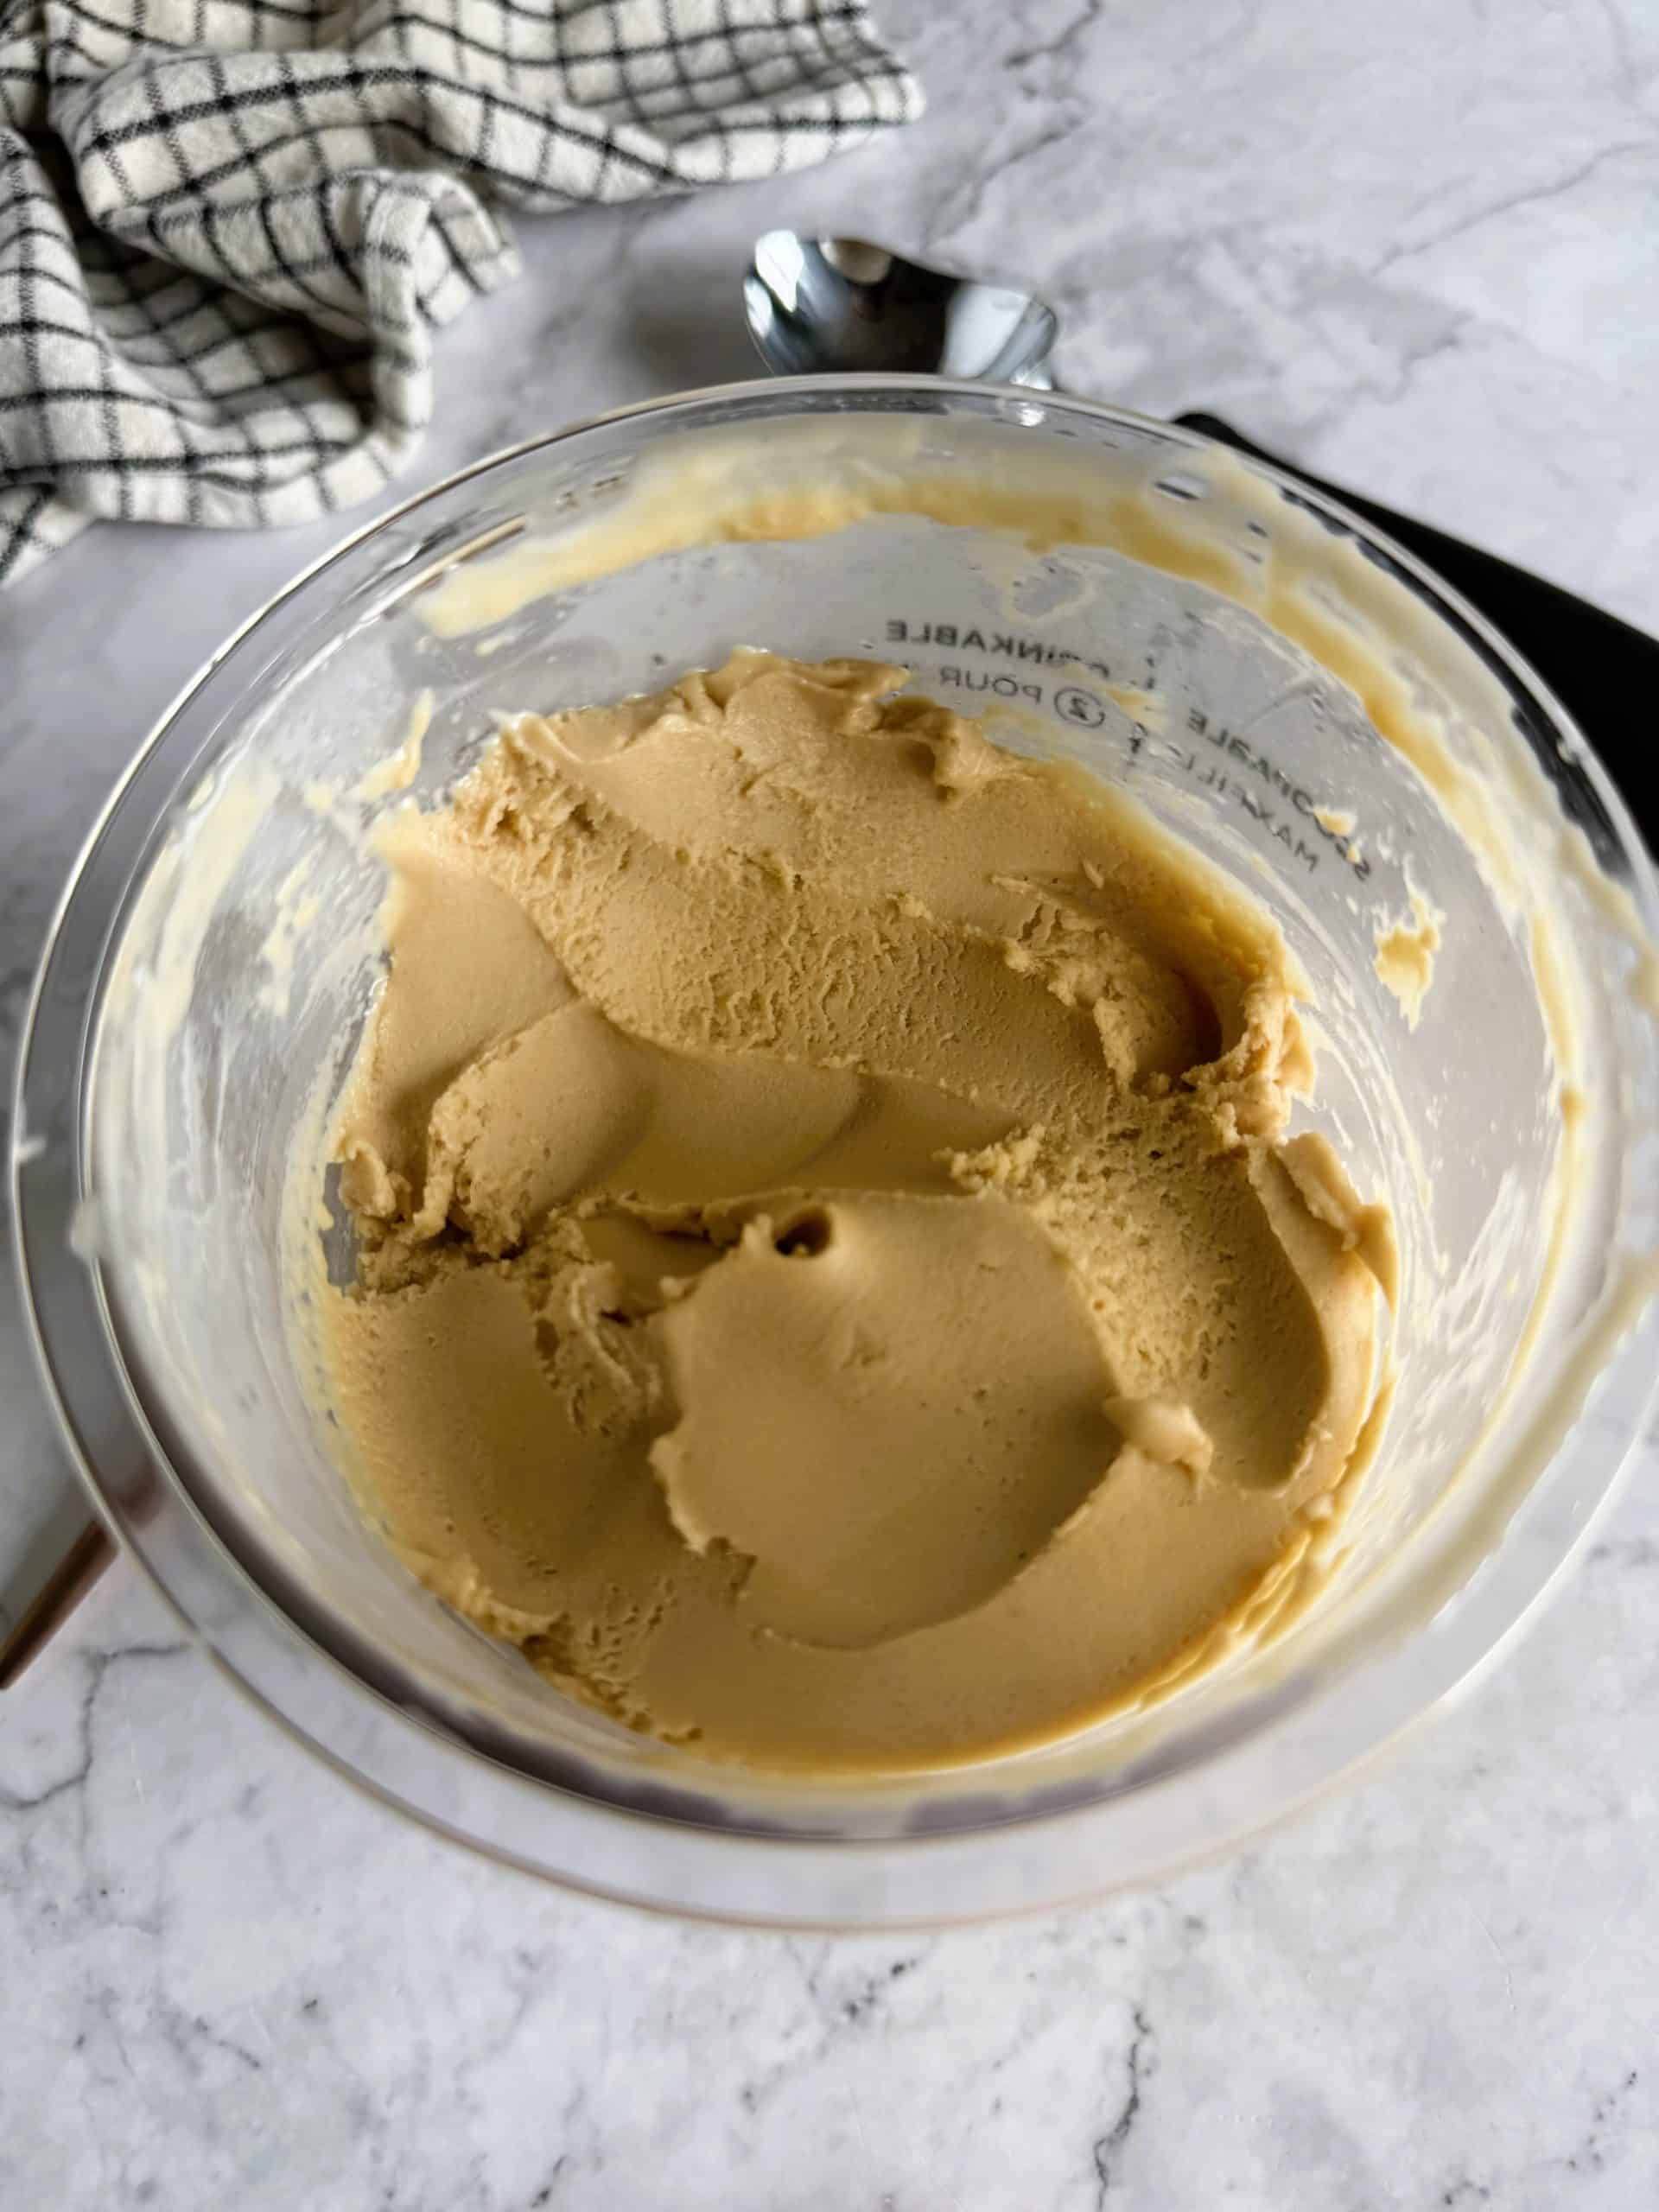
First spin.
Let the pint sit out for 10–15 minutes. If a bump formed, smooth it out before spinning to protect your machine. Spin using the Ice Cream setting.
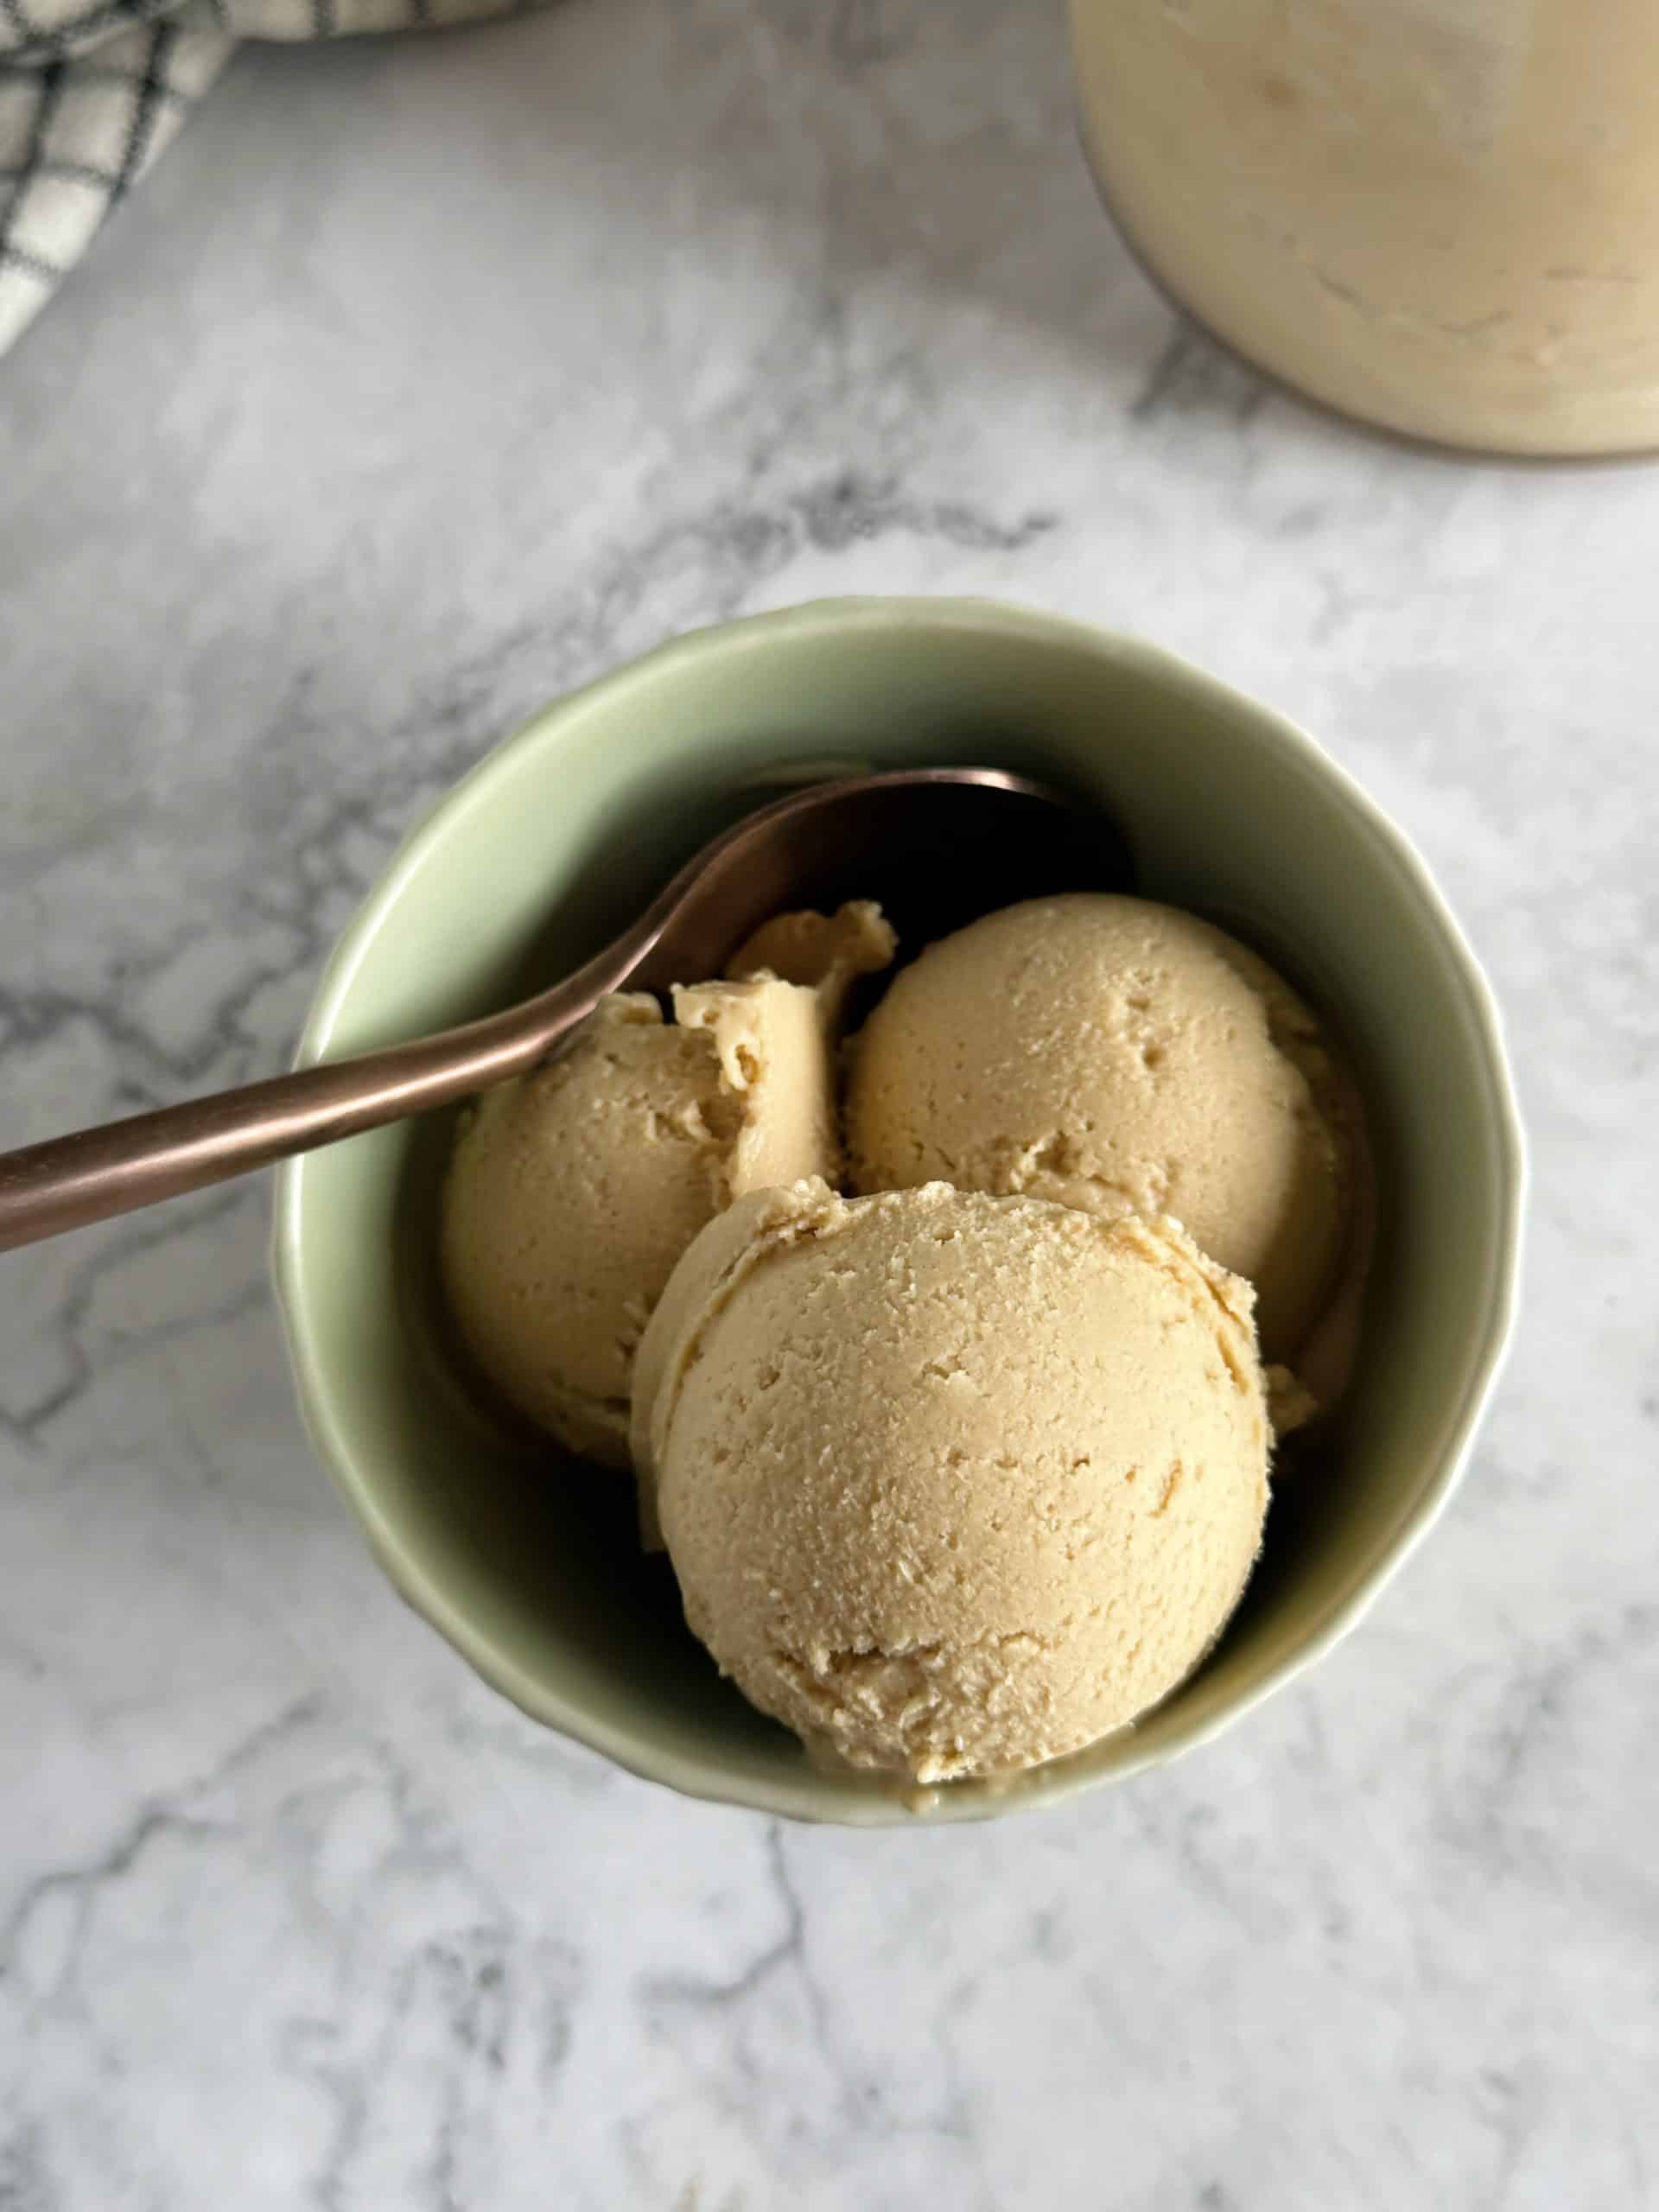
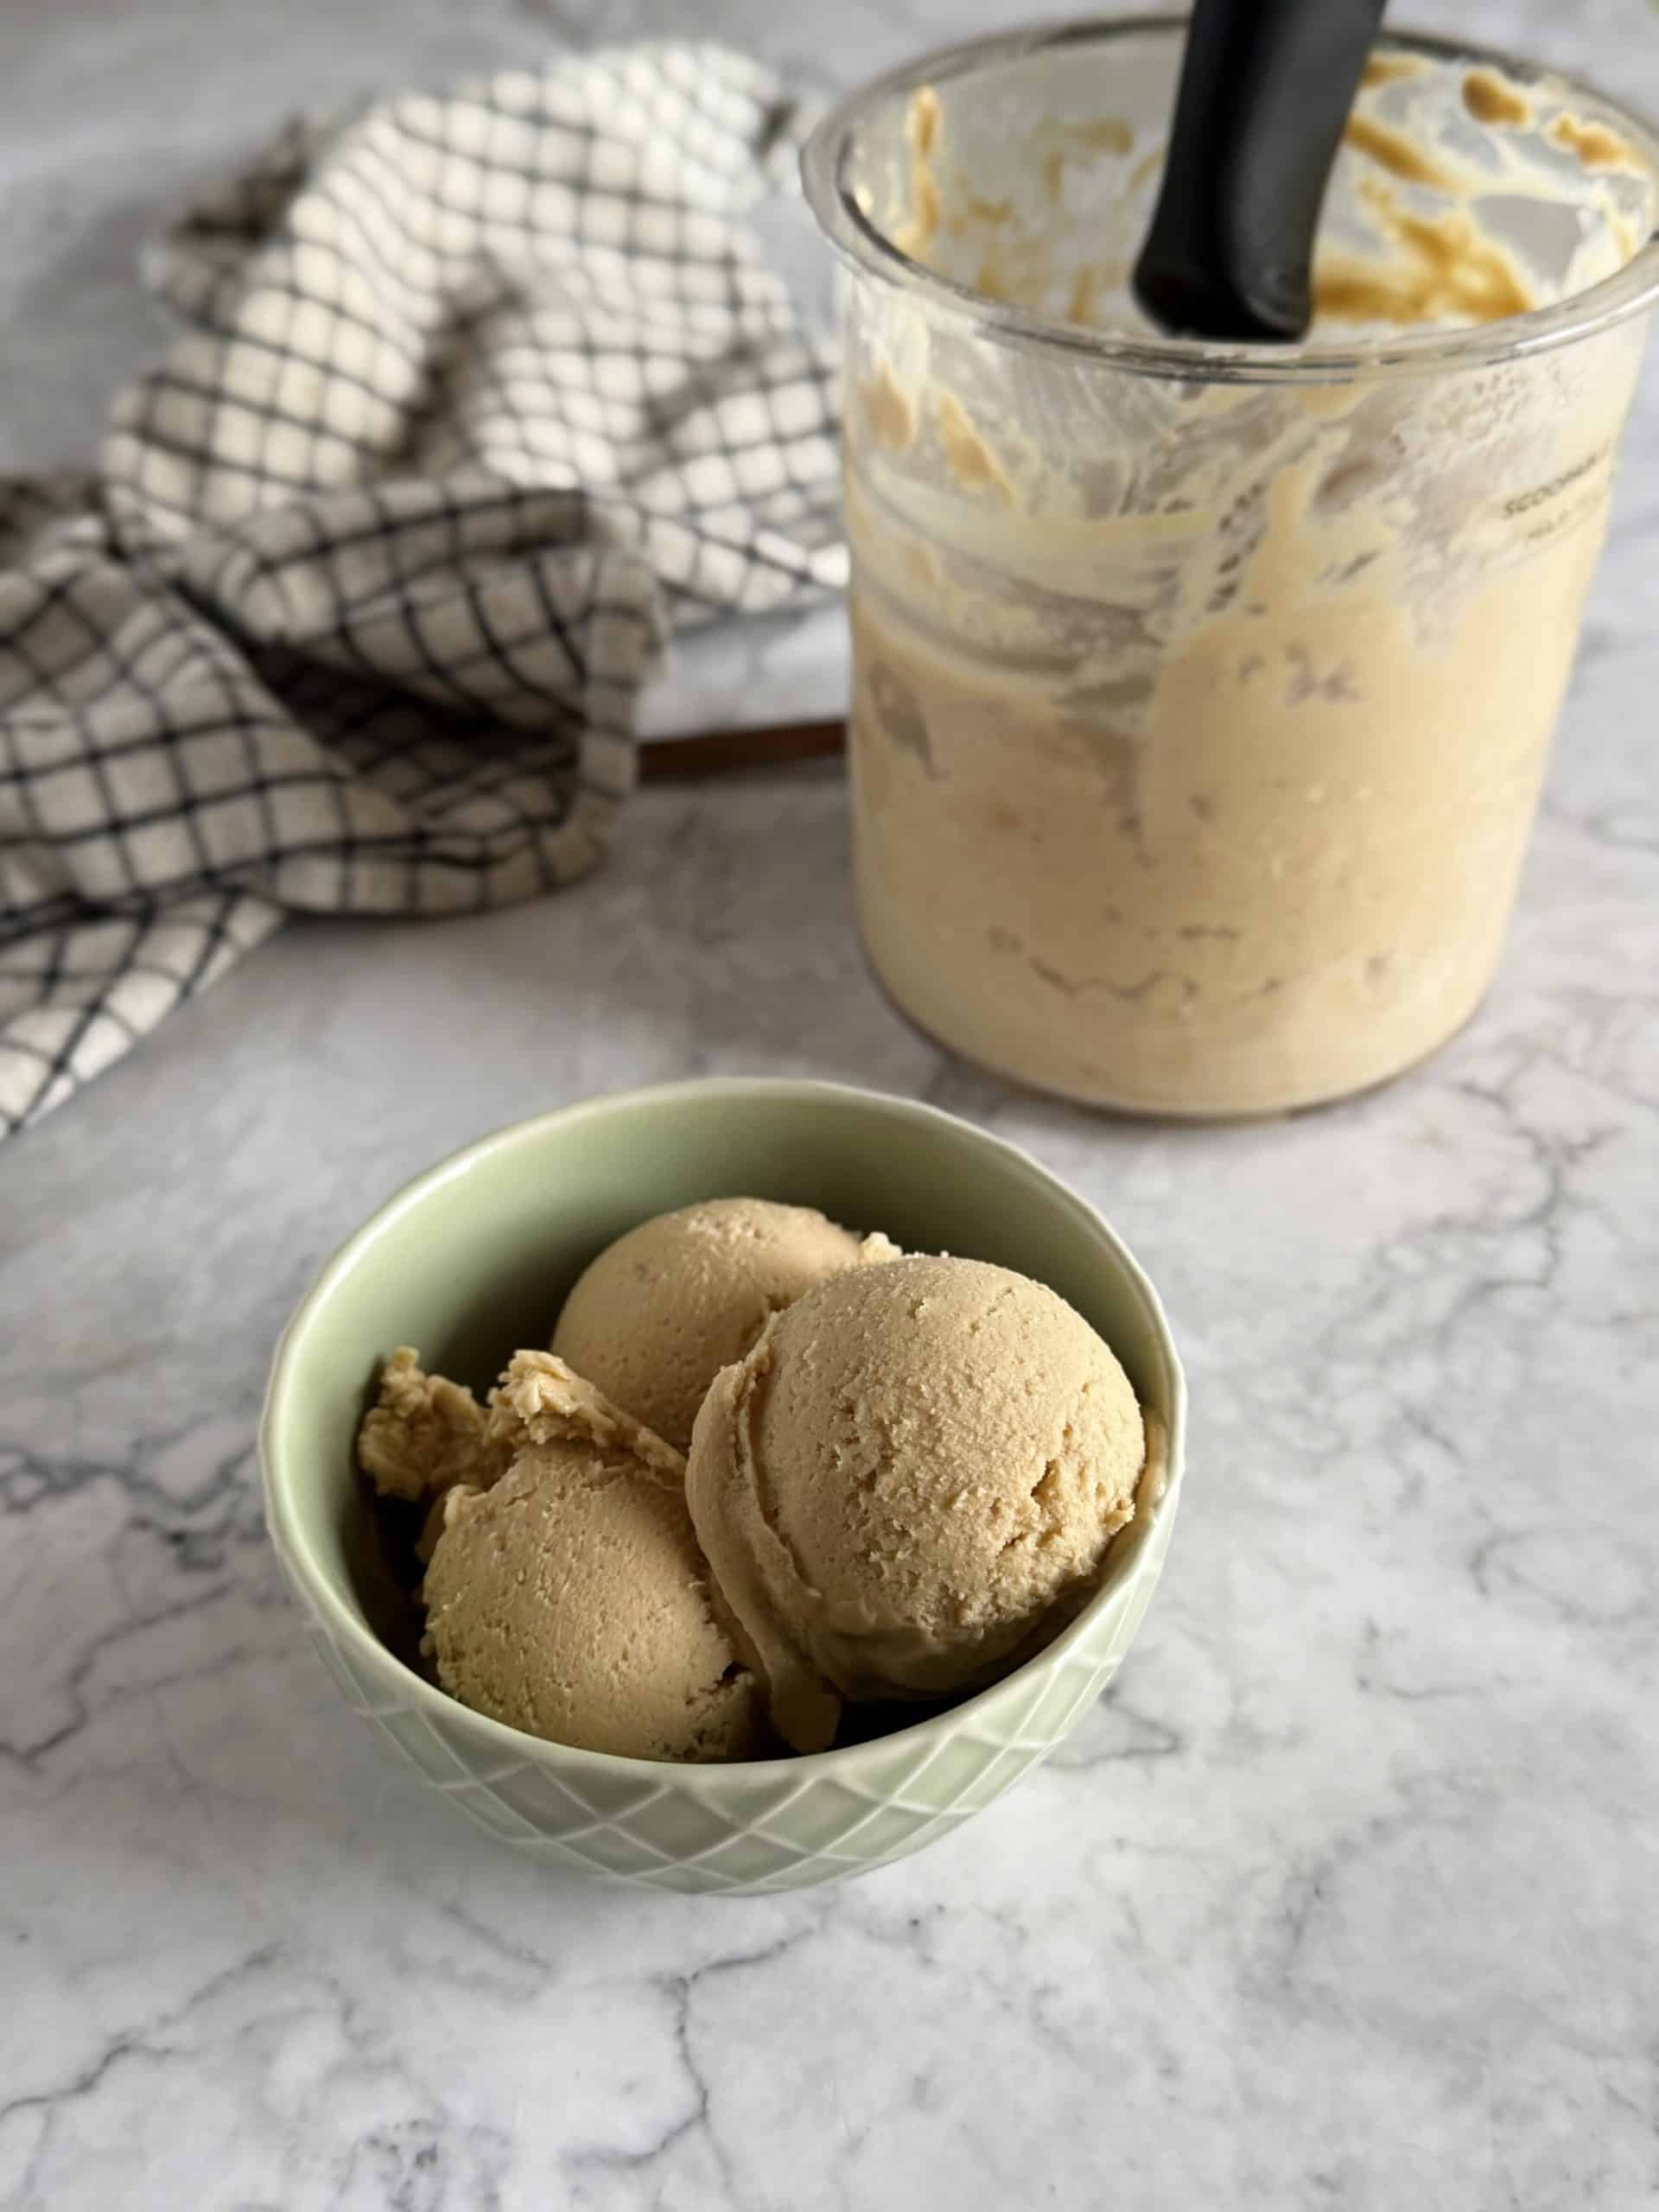
Serve and swoon.
That’s it! Scoop it up and enjoy. If you prefer more of a soft serve feel, add a splash of plant-based milk and re-spin. Optional: drizzle with more peanut butter or sprinkle with chopped peanuts for texture.
Add-ins! After the first spin is a great time to put add-ins into your ice cream! Check out the next section for loads of ideas!
Add-In Options: Make It Your Own
Once you’ve nailed the base, the real fun begins—customizing your Ninja Creami Peanut Butter Ice Cream with mix-ins! After the first spin, use the Mix-In setting to blend in your favorite extras and take this dessert to the next level.
Here are some tasty ideas to get you started:
- Chopped dark chocolate or mini chocolate chips – Classic combo, and it gives your scoop that satisfying crunch.
- Crushed pretzels – Sweet, salty, and a little crunchy? Yes, please.
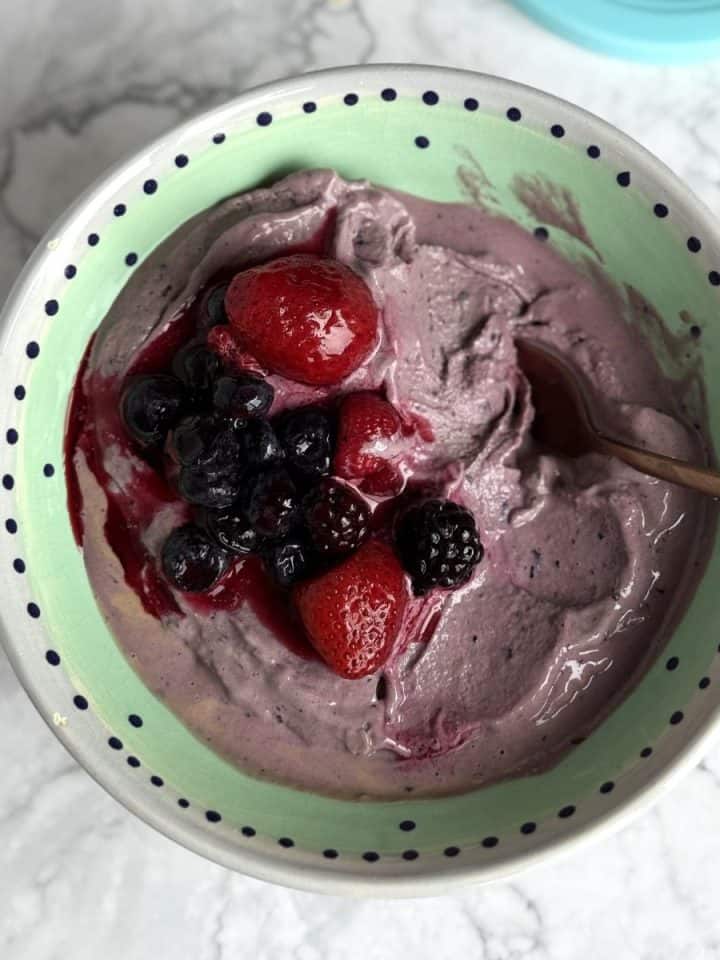
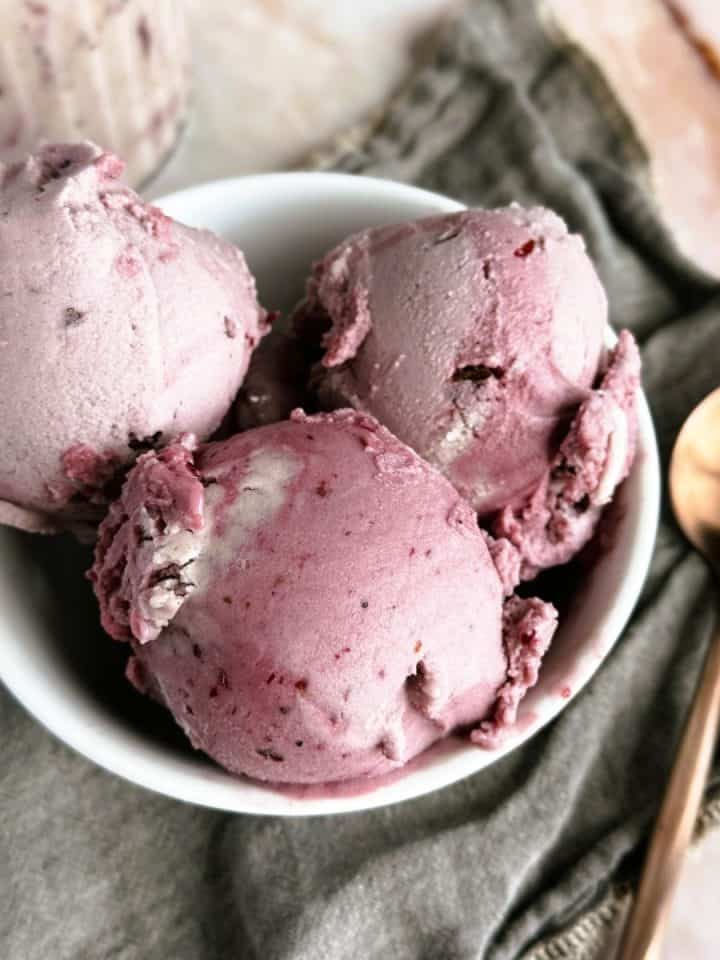
- Swirls of strawberry or raspberry jam – For a PB&J ice cream vibe that hits all the nostalgia buttons.
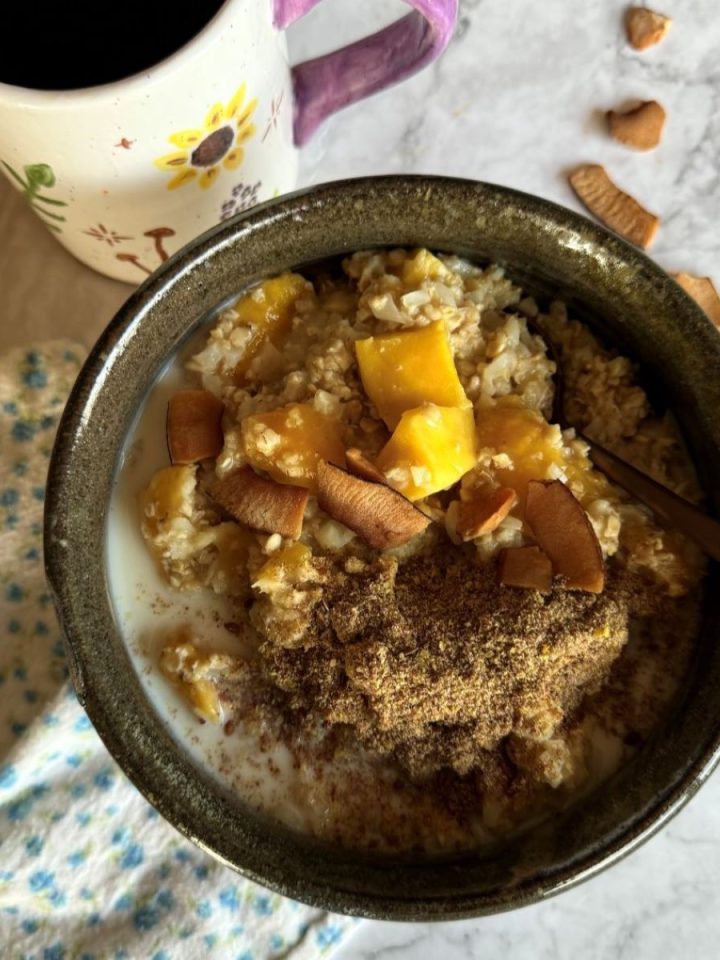
- Toasted coconut flakes – Adds a tropical twist and extra texture.
- Chopped peanuts – For even more peanut power and a satisfying crunch.
- Caramel drizzle – Because… caramel. Need we say more?
- Oreos- This is my kids favorite add in for this ice cream! And thank goodness they're vegan!
💡 Pro tip: Gently press your mix-ins into a hole in the center of your spun pint and flatten the surface before hitting the Mix-In cycle. This helps distribute them evenly without overworking the base.
Tips & Tricks
- Make it chunky! Stir in chocolate chips, chopped peanuts, or swirls of jam after the first spin and run a Mix-In cycle.
- No almond milk? Use oat, soy, or cashew—whatever you have on hand.
- Like it sweeter? Add an extra tablespoon of maple syrup or a few drops of stevia for more sweetness without more sugar.
How to Store Leftovers
If you don’t finish it in one go (I won’t judge if you do!), flatten the surface of the ice cream and pop the container back in the freezer. When you’re ready to eat again, let it sit out for 10 minutes and spin on the Ice Cream setting.
💡 Pro tip: Prep a few pints ahead of time and keep them in your freezer for easy, healthy snacks or breakfasts all week. Grab a few extra Ninja Creami pint containers so you can always have a stash of ice cream ready when the craving hits!
Whether you're looking for a high-protein vegan dessert, a way to satisfy your peanut butter cravings, or just an easy, no-fuss treat made with real ingredients, this Ninja Creami Peanut Butter Ice Cream hits the spot.
It's rich, silky, and made with just 5 pantry staples—plus it gives you a reason to keep that Ninja Creami working overtime.
FAQ
Nope! The peanut butter and vanilla completely mask any tofu flavor. All you’ll notice is the creamy, custardy texture.
Stick with extra-firm silken tofu (like Mori-Nu or Hodo brand). Regular firm tofu will make it too gritty.
Yes! Between the tofu and peanut butter, it’s packed with plant-based protein—great as a post-workout snack or a satisfying dessert.
More Dairy Free Recipes you may like
Looking for other recipes like this? Try these:

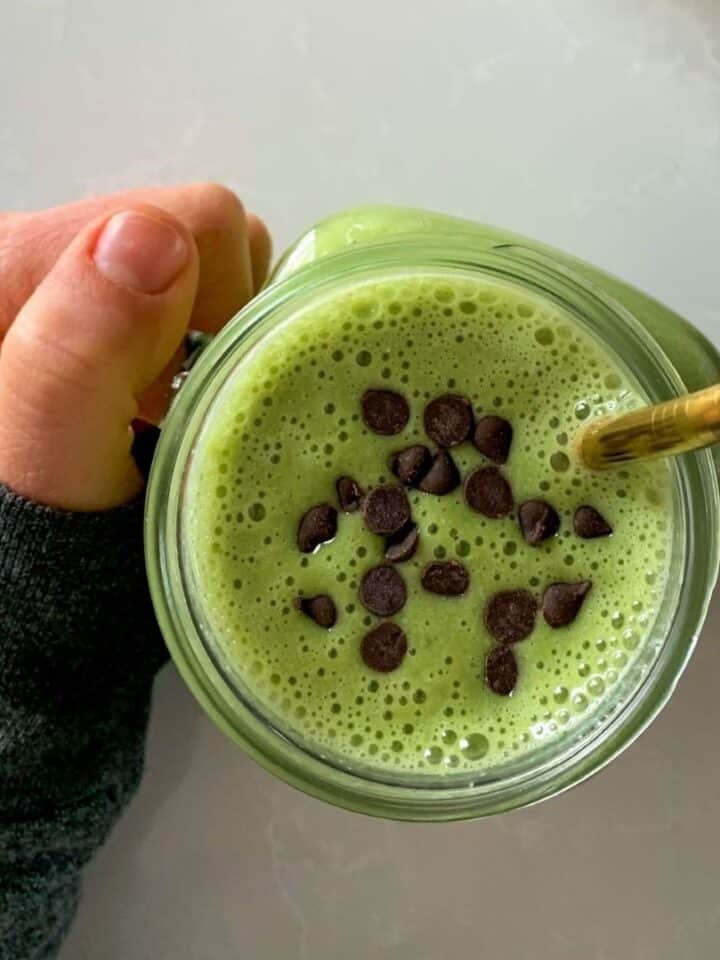
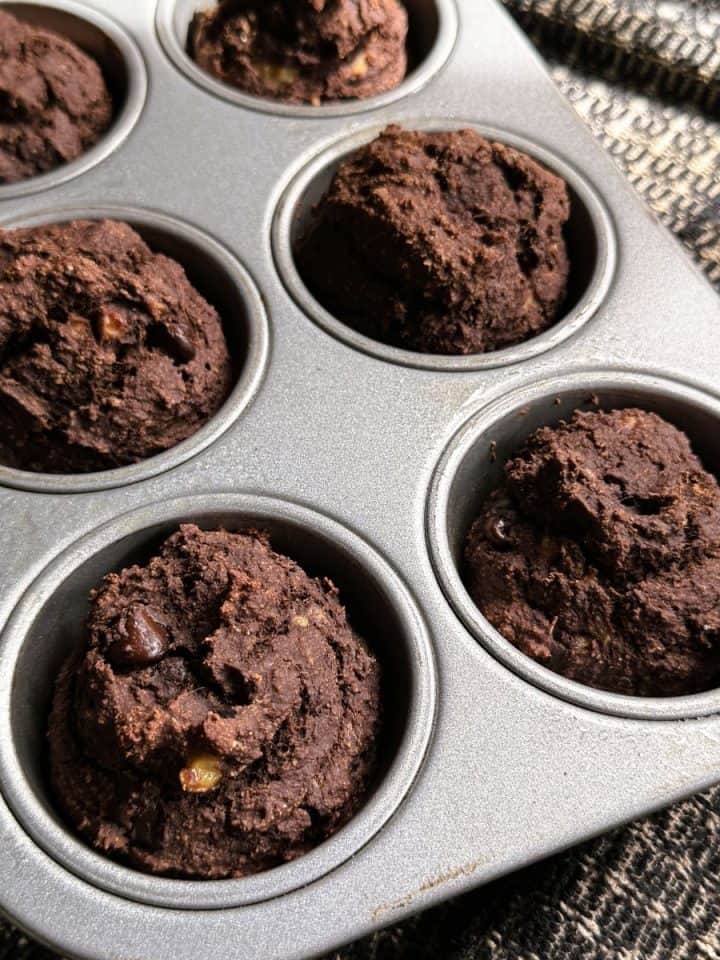
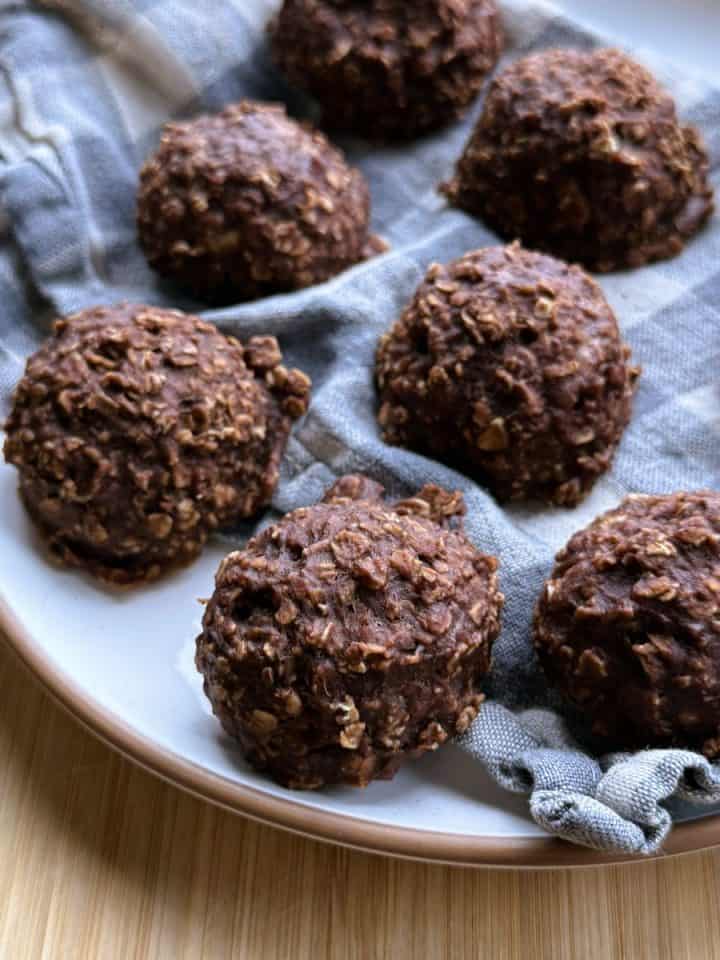
This Healthy Chocolate Elvis Ice Cream is proof that healthy eating doesn’t have to be boring. It’s indulgent, dreamy, and good-for-you—perfect for your Ninja Creami rotation!
Did you make this recipe? Please leave a comment and ⭐⭐⭐⭐⭐ rating below! Take a picture and tag me on Instagram @samcookskindness !
Recipe
Ninja Creami Peanut Butter Ice Cream (Vegan & Easy)
Ingredients
- 1 block mori-nu extra firm silken tofu (308g)
- ½ cup natural peanut butter
- ½ cup maple syrup
- 1 teaspoon vanilla extract
- 3 tablespoons almond milk
Instructions
- Blend the base. Add tofu, peanut butter, maple syrup, vanilla, and almond milk to a blender. Blend until completely smooth and creamy.
- Freeze. Pour the mixture into your Ninja Creami pint container. Freeze for at least 24 hours.
- First spin. Let the pint sit out for 10–15 minutes. If a bump formed, smooth it out before spinning to protect your machine. Spin using the Ice Cream setting.
- Serve and swoon.That’s it! Scoop it up and enjoy. If you prefer more of a soft serve feel, add a splash of plant-based milk and re-spin.
Video
Notes
Add-ins!
After the first spin is a great time to put mix-ins into your ice cream if you'd like. Dig a hole down to the bottom of the ice cream and put your additions in. Smooth out the top and process on the mix-in setting.How to Store Leftovers
If you don’t finish it in one go (I won’t judge if you do!), flatten the surface of the ice cream and pop the container back in the freezer. When you’re ready to eat again, let it sit out for 10 minutes and spin on the Ice Cream setting.(There may be affiliate links in this post. I may earn a commission for qualified purchases with no added cost to you. Thank you for your support!)
Laila says
Sorry to say but this didn't work at all. I used the Cuisnart wand (which you can use the Ninja Cremi recipes) and this just ended up like in crumbs. Not like ice cream at all, until it melted!!
Sam says
Hi Laila, I'm sorry you had this issue! I make this creami frequently and have not had this problem. Though sometimes spinning creamis in general can take a bit of troubleshooting. I noticed you said you used the Cuisinart Wand, which I do not own so haven't tested this recipe with, but that will have an effect on the outcome.
Jenny says
How is this ice cream so rich and delicious?! I ate this last night and am still thinking about it so I had to come back here to leave a comment. I only needed to spin it one time as the recipe suggested and it turned out thick like a carton right from the freezer. Will make again!